SSOGEN / AD FS as the identity provider for SSOGEN
SSOGEN
AD FS as the identity provider for SSOGEN
People keep their Windows password and any MFA AD FS applies, while SSOGEN appears in AD FS as one more relying party trust.
What you need
- A working AD FS farm (Windows Server 2016 or later) and an account in the local Administrators group on the primary AD FS server.
- The federation service name, for example
fs.acme.example(Get-AdfsProperties | Select-Object Hostnameprints it). - An SSOGEN Super admin or Authentication admin.
Step 1. In AD FS
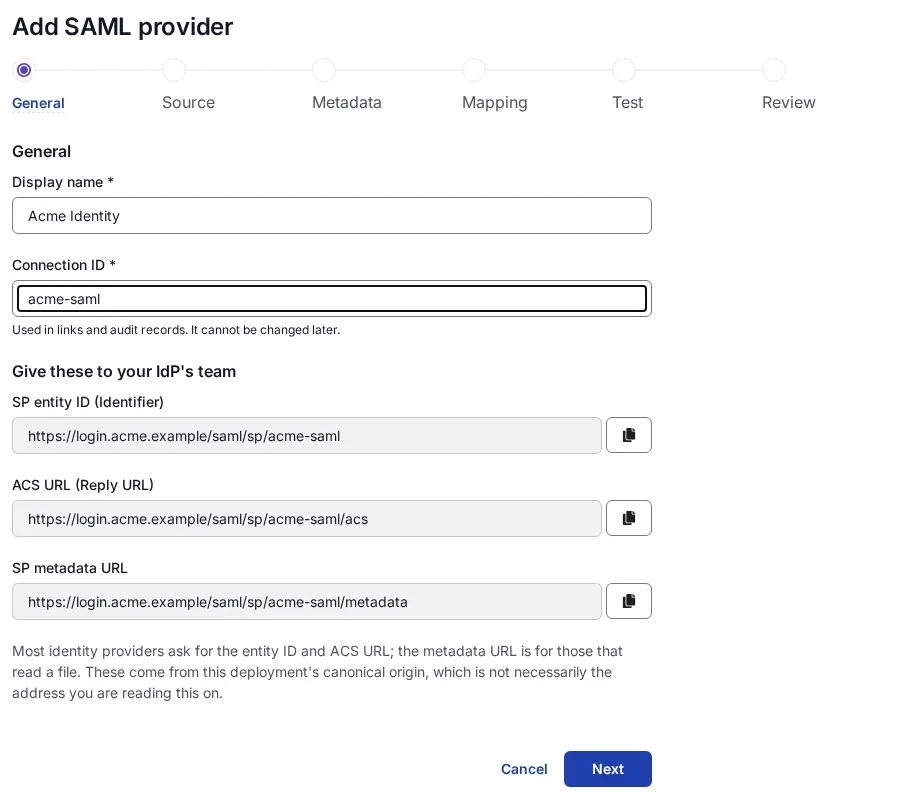
- In SSOGEN, open SSO policies > Identity providers, Add identity provider, and choose the generic SAML tile. Name it, for example
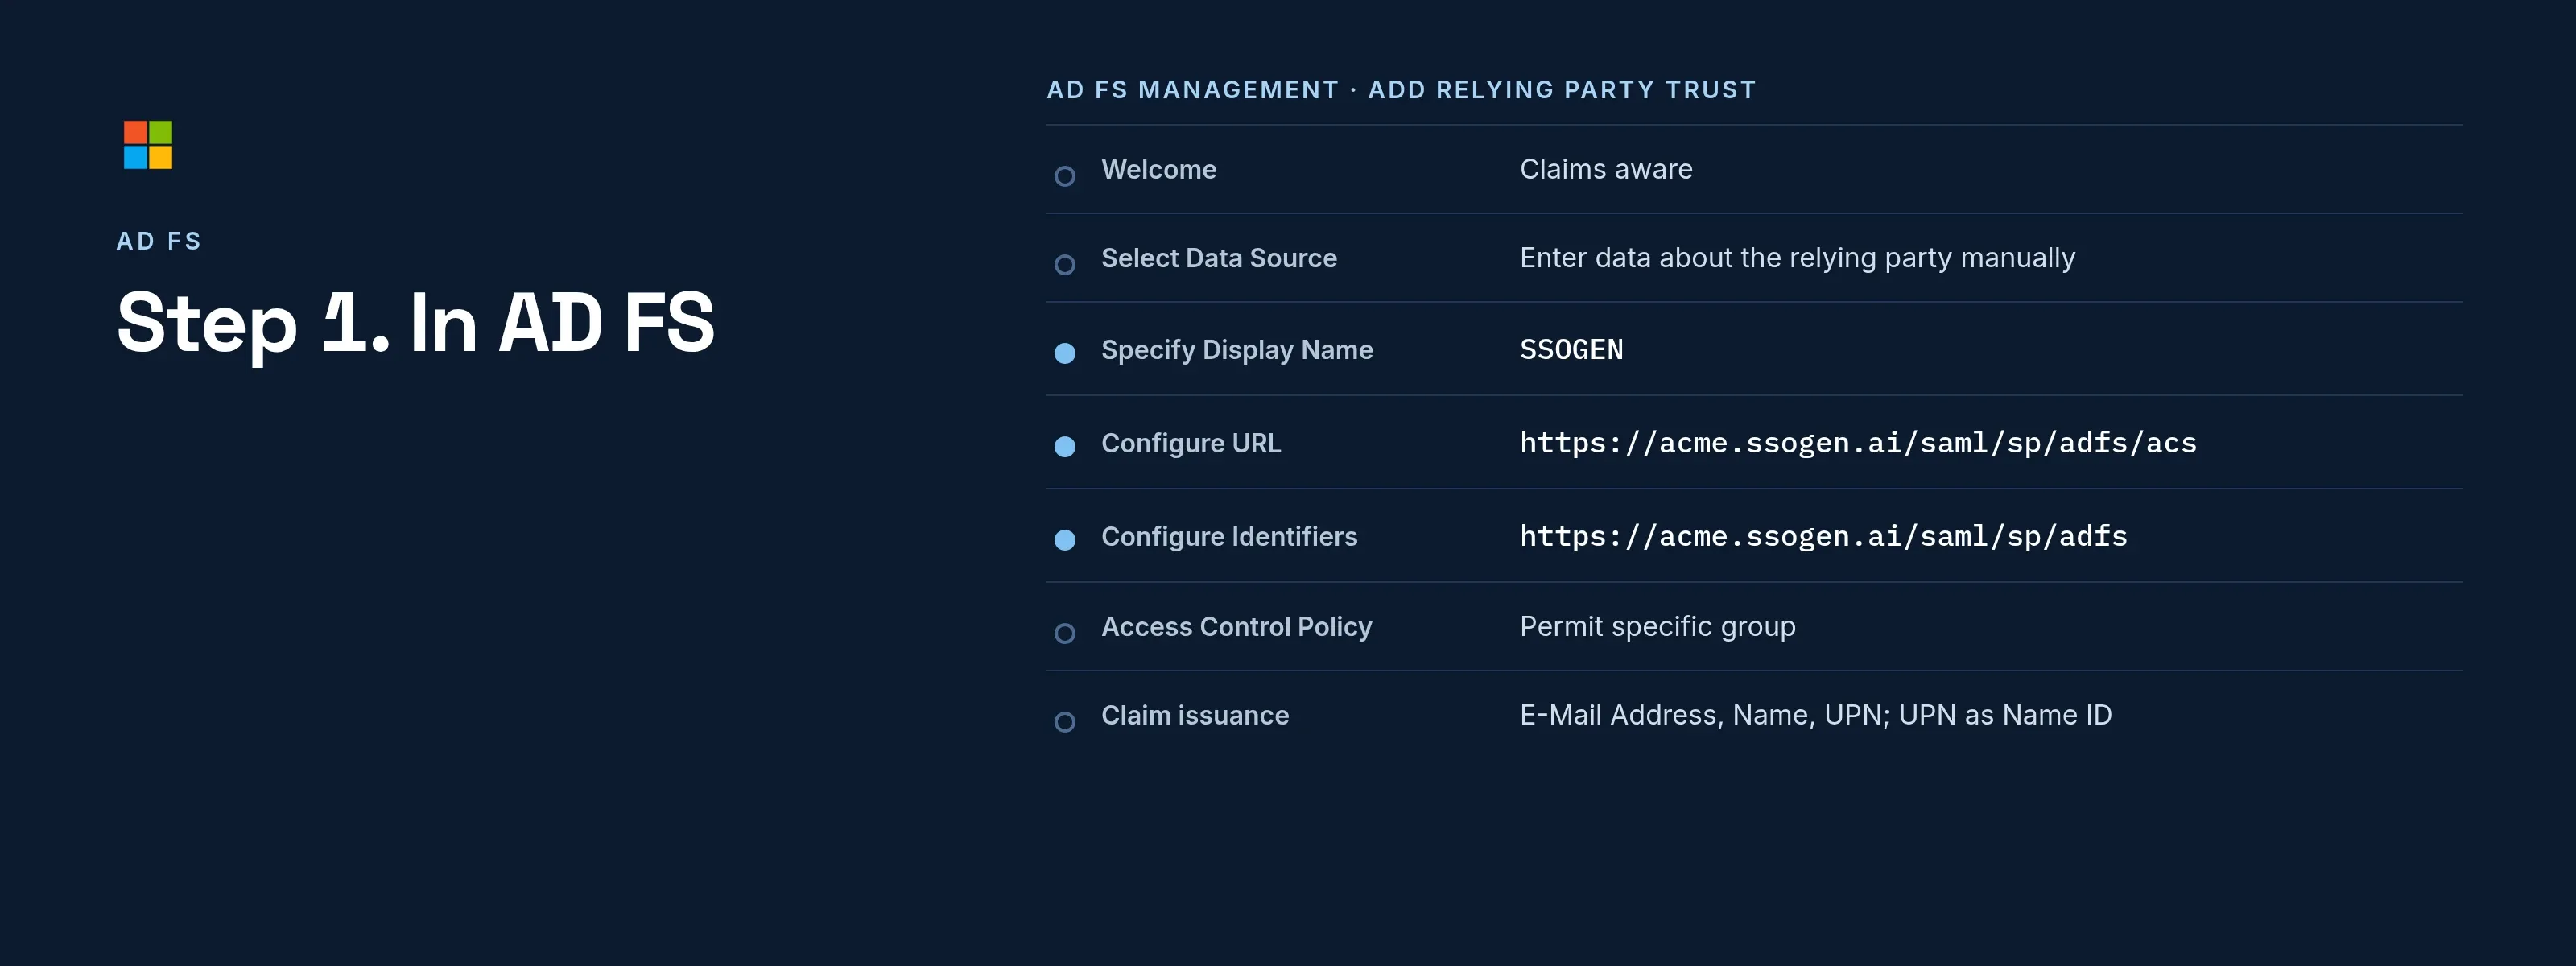
Acme AD FS, with the connection IDadfs, and copy the SP entity ID and ACS URL (Add a SAML identity provider in SSOGEN, section 1). Leave the tab open. - On the AD FS server open Server Manager > Tools > AD FS Management. Under Actions select Add Relying Party Trust, choose Claims aware and Start.
- On Select Data Source choose Enter data about the relying party manually and Next. (Once SSOGEN has saved the provider you can instead import from SSOGEN’s SP metadata URL or a downloaded
sp-metadata.xml.) - Specify Display Name:
SSOGEN. - Configure Certificate: leave empty and select Next.
- Configure URL: tick Enable support for the SAML 2.0 WebSSO protocol and enter SSOGEN’s ACS URL,
https://acme.ssogen.ai/saml/sp/adfs/acs, in Relying party SAML 2.0 SSO service URL. - Configure Identifiers: enter SSOGEN’s SP entity ID,
https://acme.ssogen.ai/saml/sp/adfs, and select Add. - Choose Access Control Policy: Permit specific group with the group that may use SSOGEN (or Permit everyone for a first test). Finish the wizard; the claim issuance policy editor opens.
- Add a rule with the template Send LDAP Attributes as Claims, attribute store Active Directory:
| LDAP Attribute | Outgoing Claim Type |
|---|---|
| E-Mail-Addresses | E-Mail Address |
| Display-Name | Name |
| User-Principal-Name | UPN |
- Add a second rule with the template Transform an Incoming Claim: incoming claim type UPN, outgoing claim type Name ID, outgoing name ID format Unspecified, Pass through all claim values. Select Finish and OK.
- Note the federation metadata address:
https://fs.acme.example/FederationMetadata/2007-06/FederationMetadata.xml. If SSOGEN cannot reach AD FS from the internet, open that address on a workstation and save the XML as a file.
AD FS signs the assertion by default, which is what SSOGEN requires. Because SSOGEN’s metadata offers a certificate for encryption, a trust imported from that metadata also encrypts the assertions; SSOGEN decrypts them.
Step 2. In SSOGEN
- On Metadata source, choose Metadata URL and paste the federation metadata address, then Fetch metadata. If AD FS is reachable only inside your network, choose Metadata file upload with the saved XML.
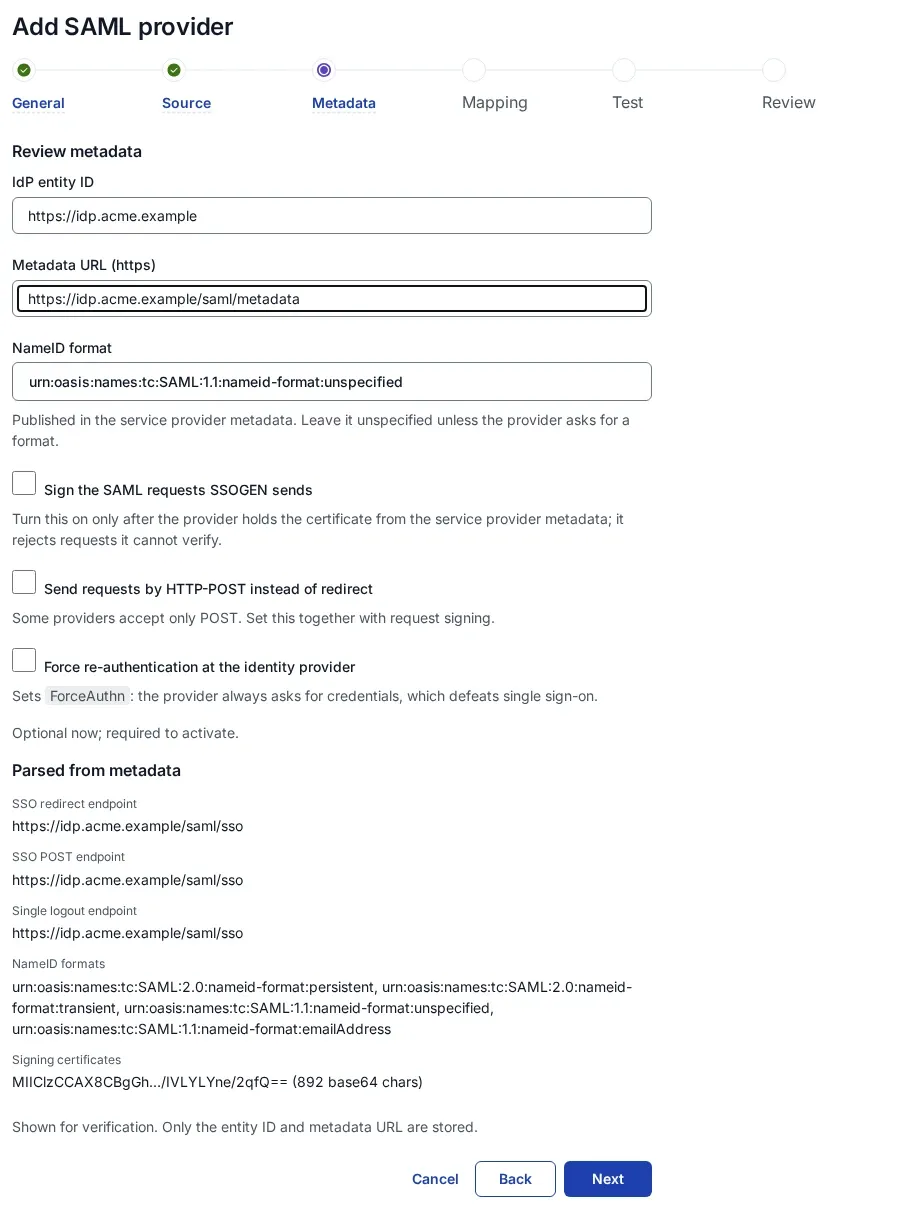
- On Review metadata, the IdP entity ID reads
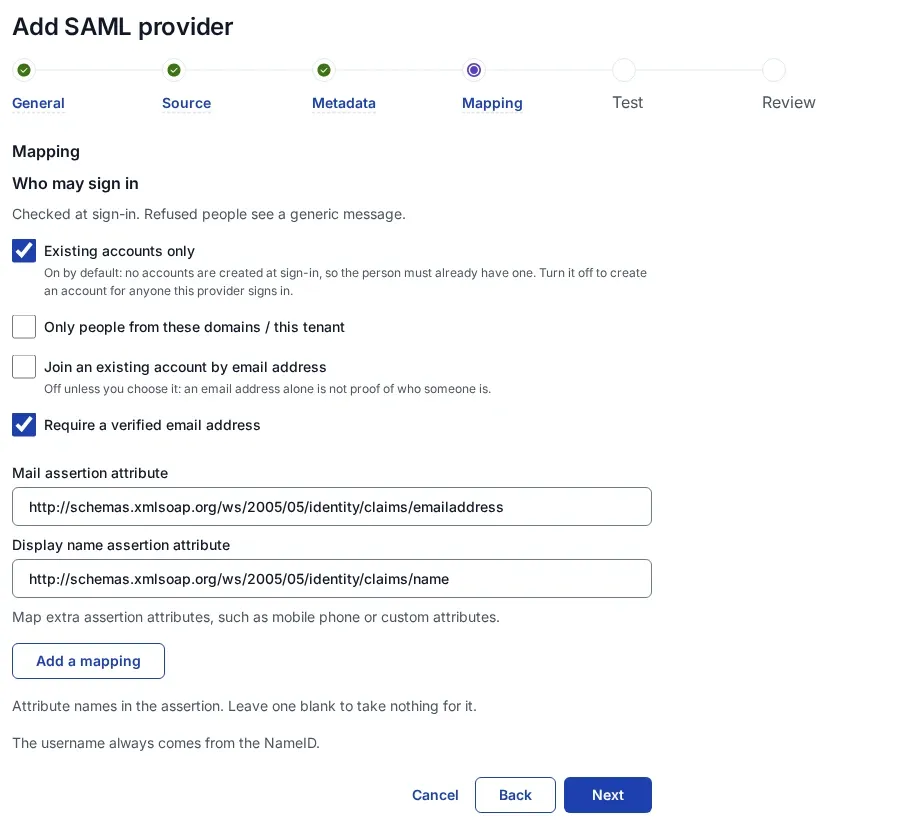
http://fs.acme.example/adfs/services/trust. That is AD FS’s default identifier, anhttp://name; SSOGEN accepts it as it is. Keep the other options off. - On Mapping, keep the defaults. They are the names AD FS sends for E-Mail Address and Name.
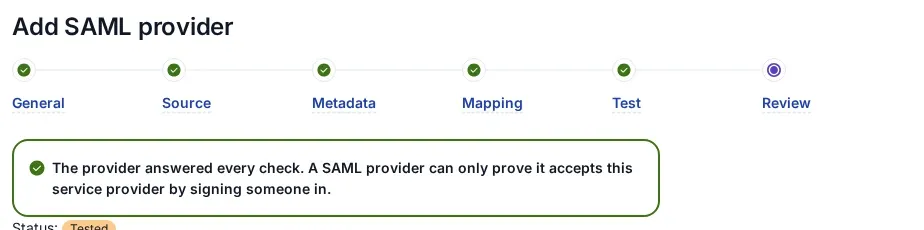
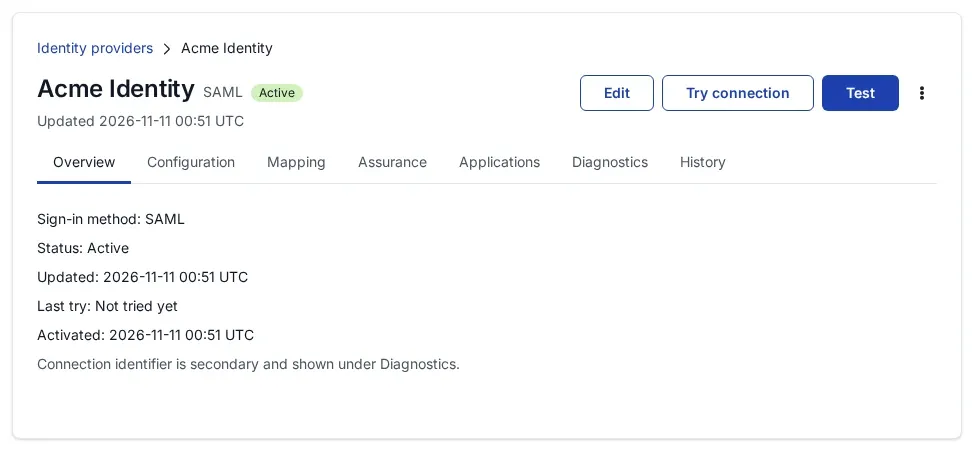
- Create provider, Validate, Test, Try signing in, Activate, and allow the provider in the policy that applies. The details are in Add a SAML identity provider in SSOGEN.
Step 3. Who may sign in, and the first sign-in
A new provider admits nobody until you choose. On the provider’s Configuration tab, Sign-in restriction:
- Choose Anyone this provider vouches for (a new account is created). AD FS’s access control policy already decides who can reach SSOGEN. Each person gets an SSOGEN account at first sign-in, named after the Name ID: a UPN of
john.doe@acme.examplegivesadfs_john.doe_acme.example. Do not send the Windows account name (ACME\jdoe) as the Name ID; send the UPN or the email address. - To restrict further, add a required claim on an attribute AD FS sends with one value per person, such as a fixed company attribute added by a claim rule. Full claim type names, such as
http://schemas.xmlsoap.org/ws/2005/05/identity/claims/upn, are accepted as claim names. - People who already have SSOGEN accounts can use them only through account matching by email address, which needs AD FS to send
emailandemail_verifiedattributes; see section 6 of Add a SAML identity provider in SSOGEN.
What the user sees
Jane Doe opens https://acme.ssogen.ai, is sent to the AD FS sign-in page at fs.acme.example (or signed in silently with Windows integrated authentication if AD FS offers it on your network), and lands on her applications in SSOGEN.
Troubleshooting
| Symptom | Cause |
|---|---|
| AD FS shows an error page with an Activity ID, and the AD FS Admin event log shows MSIS7007 for that ID. | The identifier on the trust differs from SSOGEN’s SP entity ID. Correct it under the trust’s Properties > Identifiers. |
| Event 321 (MSIS7070): the NameID policy could not be satisfied. | No claim rule issues a Name ID, or it issues a different format from the one SSOGEN asks for. Add the rule in step 10, or set SSOGEN’s NameID format to the format the rule issues. |
| AD FS shows an access denied page after a correct password. | The access control policy does not permit Jane. Add her group to the policy on the trust. |
| AD FS logs a failed revocation check for SSOGEN’s certificate. | AD FS checks revocation of the certificates on the trust. If SSOGEN’s certificate publishes no revocation list, turn the check off for this trust: Set-AdfsRelyingPartyTrust -TargetName "SSOGEN" -SigningCertificateRevocationCheck None -EncryptionCertificateRevocationCheck None. |
| Sign-ins fail some weeks after setup and Try connection says the signature did not verify. | AD FS rolled over its token-signing certificate. With a metadata URL, fetch it again in SSOGEN during the five days AD FS publishes both certificates; with a file, upload the new metadata before the new certificate becomes primary. |