SSOGEN / Keycloak as identity provider for SSOGEN
SSOGEN
Keycloak as identity provider for SSOGEN
The Keycloak template reads your host and realm name, then fills in the issuer, the claims and the sign-in rule for OpenID Connect or SAML.
What you need
- A Keycloak served over
https://at a stable host name, for examplekeycloak.acme.example, and the name of the realm that holds your users, for exampleacme. - An administrator of that realm.
- An SSOGEN Super admin or Authentication admin.
- For OpenID Connect, Keycloak must be reachable from SSOGEN’s server at a public address. A Keycloak on a private network can still be used over SAML with an uploaded metadata file.
Step 1. In Keycloak
OpenID Connect
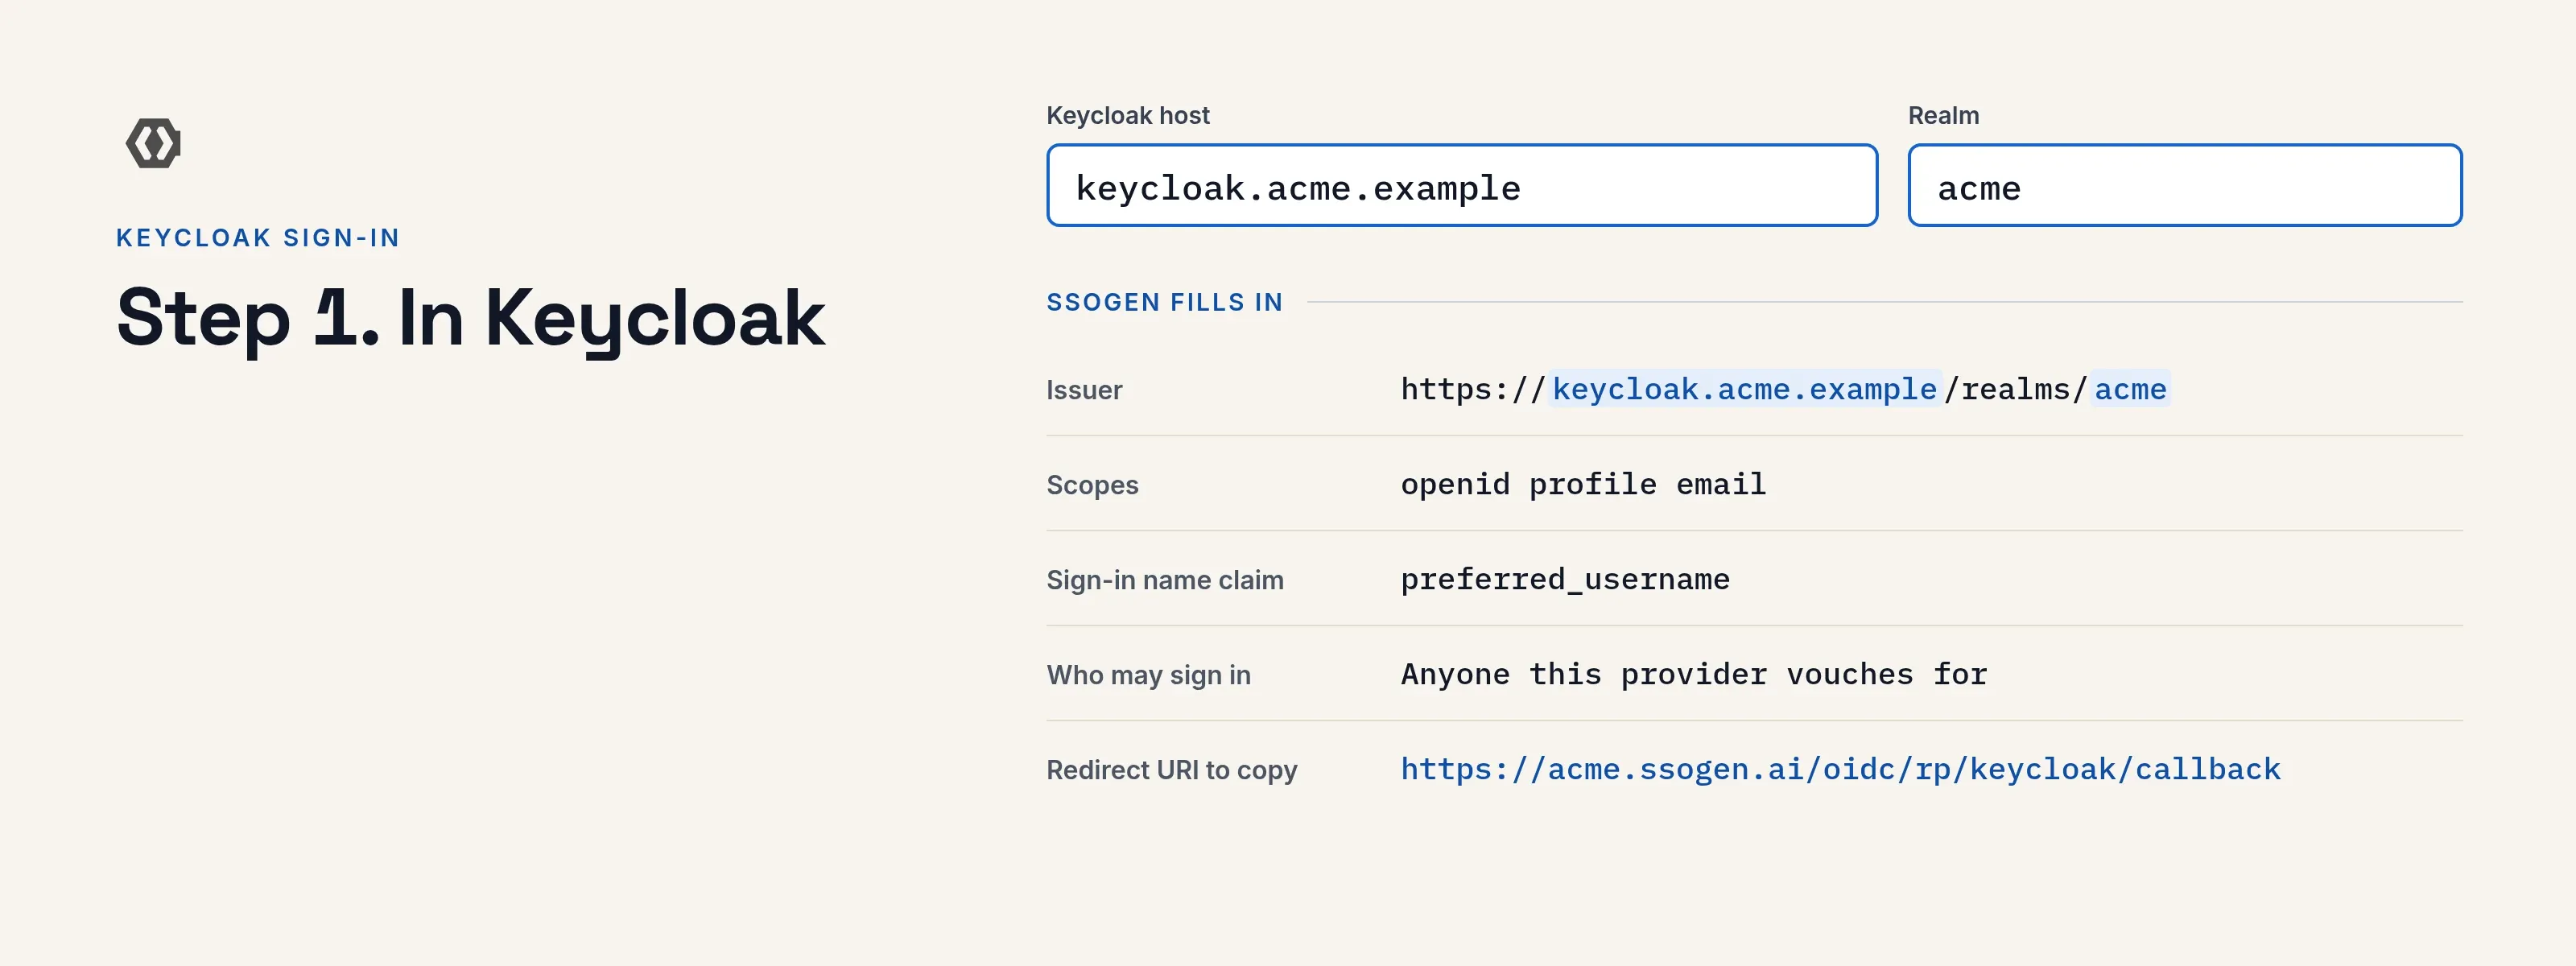
- In SSOGEN, open SSO policies > Identity providers, Add identity provider, the Keycloak card, choose OpenID Connect, type the Keycloak host (
keycloak.acme.example, no port or path) and the Realm (acme), and Continue. On Client credentials, copy the Redirect URI, for examplehttps://acme.ssogen.ai/oidc/rp/keycloak/callback. - In the Keycloak admin console, choose the realm and open Clients > Create client. Keep Client type at OpenID Connect, set Client ID to
ssogenand Next. - On Capability config, turn Client authentication on, keep Standard flow ticked, untick Direct access grants, and Next.
- On Login settings, put the redirect URI in Valid redirect URIs. Leave Web origins empty. Save.
- On the Credentials tab, keep Client Authenticator at Client Id and Secret and copy the Client Secret. If Allowed authentication method is restricted, allow the secret in the request body.
- Optional: on the Advanced tab, set PKCE Method to S256. SSOGEN always uses it.
SAML
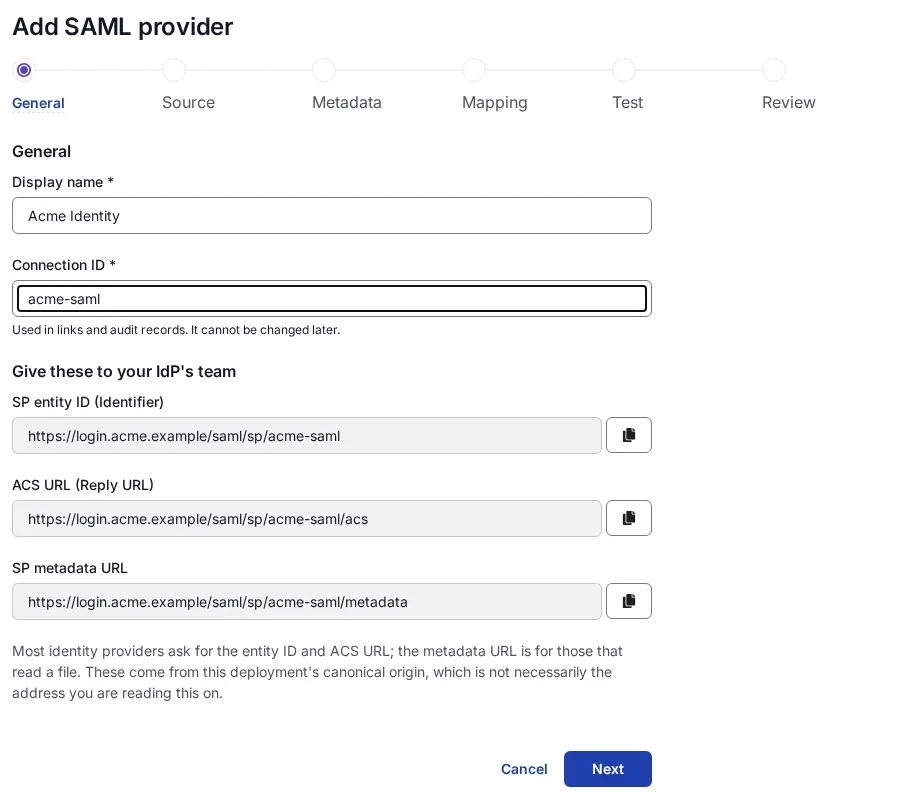
- In SSOGEN, choose the Keycloak card, then SAML, and copy the SP entity ID and ACS URL (Add a SAML identity provider in SSOGEN, section 1).
- In Keycloak, Clients > Create client, set Client type to SAML and Client ID to SSOGEN’s SP entity ID,
https://acme.ssogen.ai/saml/sp/keycloak. Next, put SSOGEN’s ACS URL in Valid redirect URIs, and Save. (Once SSOGEN has saved the provider, Import client with SSOGEN’ssp-metadata.xmlfills these in for you.) - On the Settings tab, under Signature and Encryption, turn Sign assertions on. Keycloak signs the whole document by default but not the assertion, and SSOGEN requires the assertion to be signed.
- Under SAML capabilities, set Name ID format to username or email and turn Force name ID format on.
- On the Keys tab, turn Client signature required off, because SSOGEN does not sign its requests unless you turn that on in SSOGEN.
- On Client scopes, open the client’s dedicated scope and add a mapper By configuration > User Property: Property
email, SAML Attribute Nameemail. Add another with PropertyfirstNameand SAML Attribute NamegivenName, and one withlastNameandsn. - The realm’s metadata is at
https://keycloak.acme.example/realms/acme/protocol/saml/descriptor.
Step 2. In SSOGEN
- OpenID Connect: the template has filled in the issuer
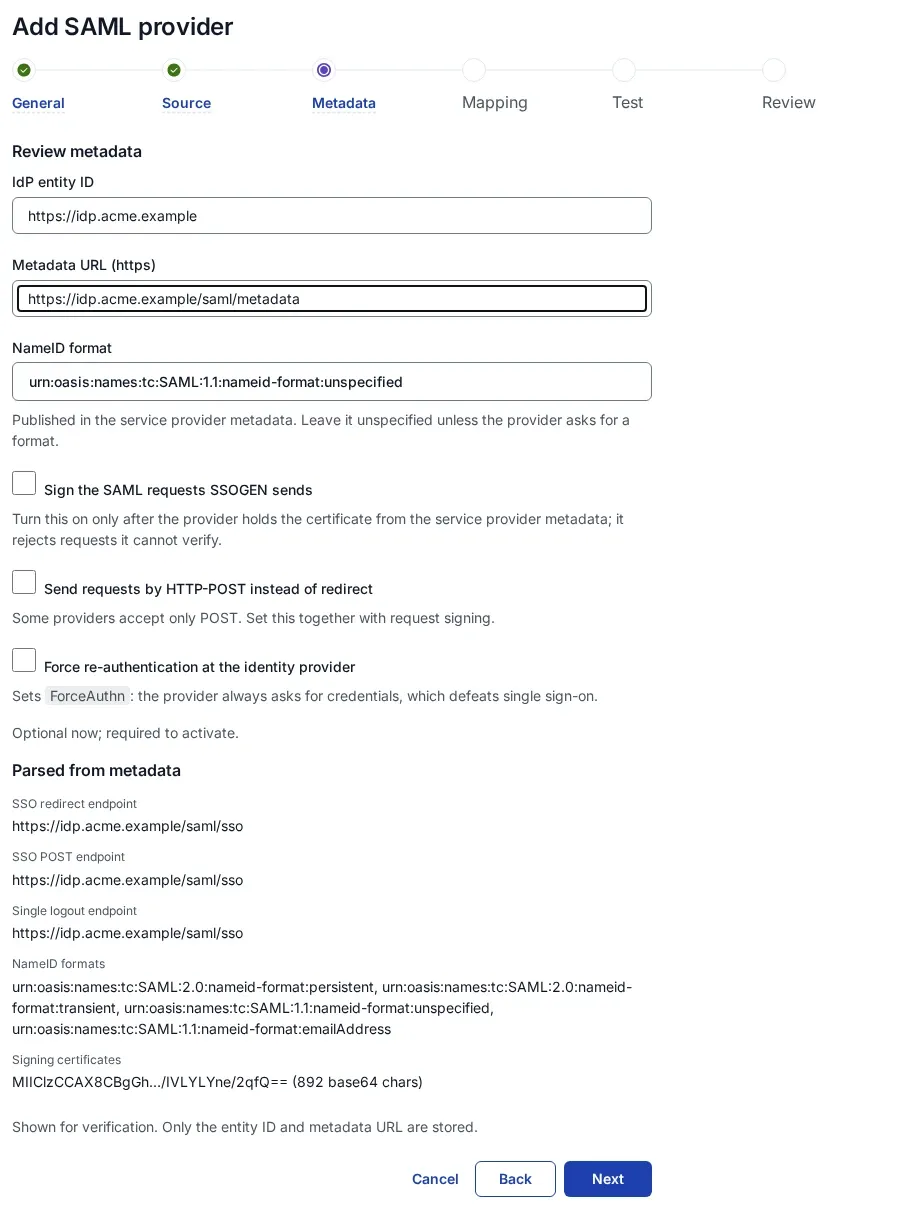
https://keycloak.acme.example/realms/acme, the scopesopenid profile emailand the claims. Type the Client ID (ssogen) and the Client secret, then Create provider, Validate, Test, Try signing in, Activate. See Add an OpenID Connect identity provider in SSOGEN. - SAML: on Metadata source, fetch the descriptor address with Metadata URL, or save it as a file and use Metadata file upload if SSOGEN cannot reach Keycloak. On Mapping, set Mail assertion attribute to
email. Save, validate, test, try and activate as in Add a SAML identity provider in SSOGEN.
Allow the provider in the policy that applies (SSO policies > Policies, First factor, Single sign-on with an external provider).
Step 3. Who may sign in, and the first sign-in
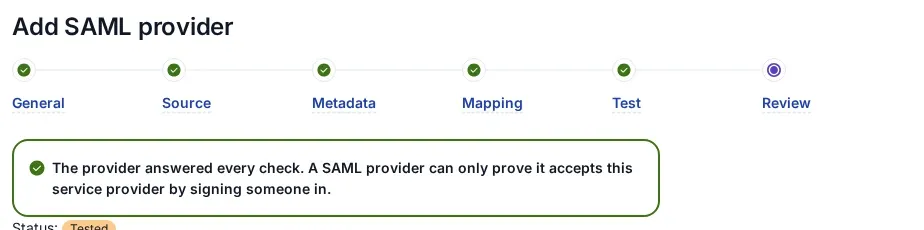
- OpenID Connect from the template: the provider admits Anyone this provider vouches for. Every enabled user of the realm can sign in and gets an SSOGEN account at first sign-in, named after their Keycloak username (
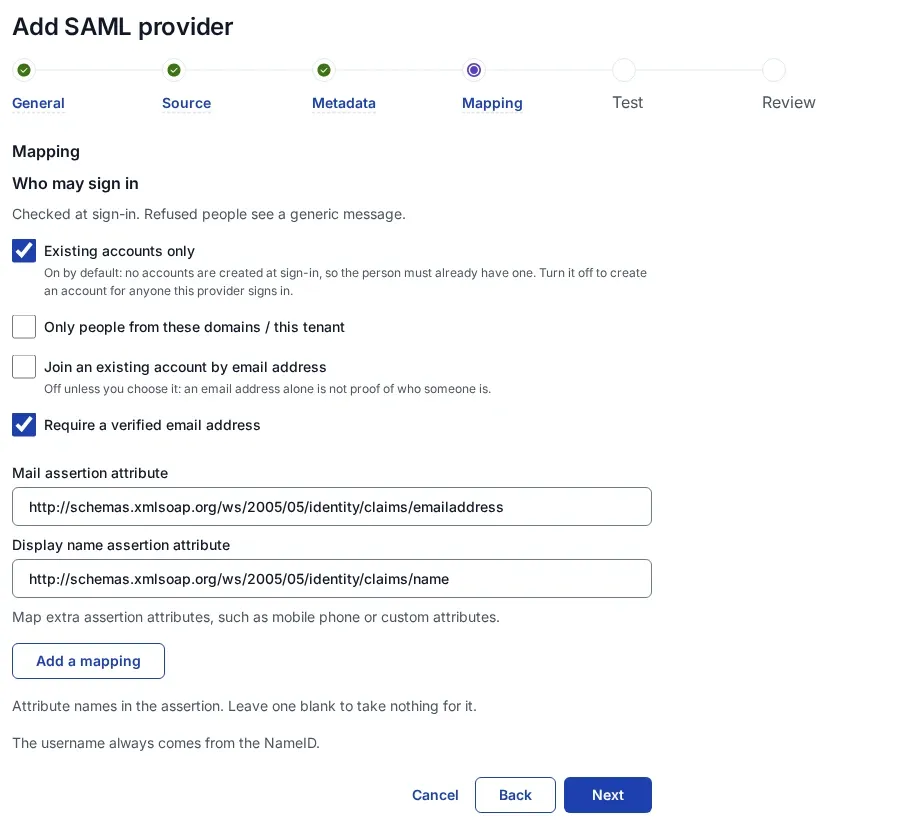
preferred_username), for examplejdoe. Keycloak lets any realm user use any client of the realm, so if only some of them should reach SSOGEN, keep them in a separate realm or add a required claim that only they carry. - SAML: a new SAML provider admits nobody until you choose Anyone this provider vouches for under Sign-in restriction. The username comes from the Name ID, for example
keycloak_jdoe. - For people who already have SSOGEN accounts, a Super admin turns on account matching by email address (section 6 of the OpenID Connect or SAML page).
What the user sees
Jane Doe opens https://acme.ssogen.ai, is sent to the Keycloak sign-in page of the acme realm, signs in, and lands on her applications in SSOGEN.
Troubleshooting
| Symptom | Cause |
|---|---|
| Keycloak shows “Invalid parameter: redirect_uri”. | The redirect URI is not in the client’s Valid redirect URIs. Keycloak compares it exactly, case included. |
| Keycloak shows “Client not found”. | Over SAML, the Client ID is not SSOGEN’s SP entity ID exactly; or the realm in the address is wrong. |
| Keycloak refuses SSOGEN’s SAML request as invalid. | Client signature required is on while SSOGEN sends unsigned requests. Turn it off, or turn on request signing in SSOGEN after importing SSOGEN’s certificate into Keycloak. |
| SAML sign-in is refused and Try connection reports a signature problem, although Keycloak signs its documents. | Sign assertions is off on the Keycloak client; SSOGEN needs the assertion itself signed. |
| Test says “The provider’s discovery document names a sign-in, token or key endpoint SSOGEN may not contact”. | Keycloak publishes a private or different host. Set Keycloak’s public host name so its discovery document names the public address, or use SAML with an uploaded file. |