SSOGEN / Add an OpenID Connect identity provider in SSOGEN
SSOGEN
Add an OpenID Connect identity provider in SSOGEN
Name it, give the issuer, copy the redirect URI, map claims, then validate, test and activate before it shows on the sign-in page.
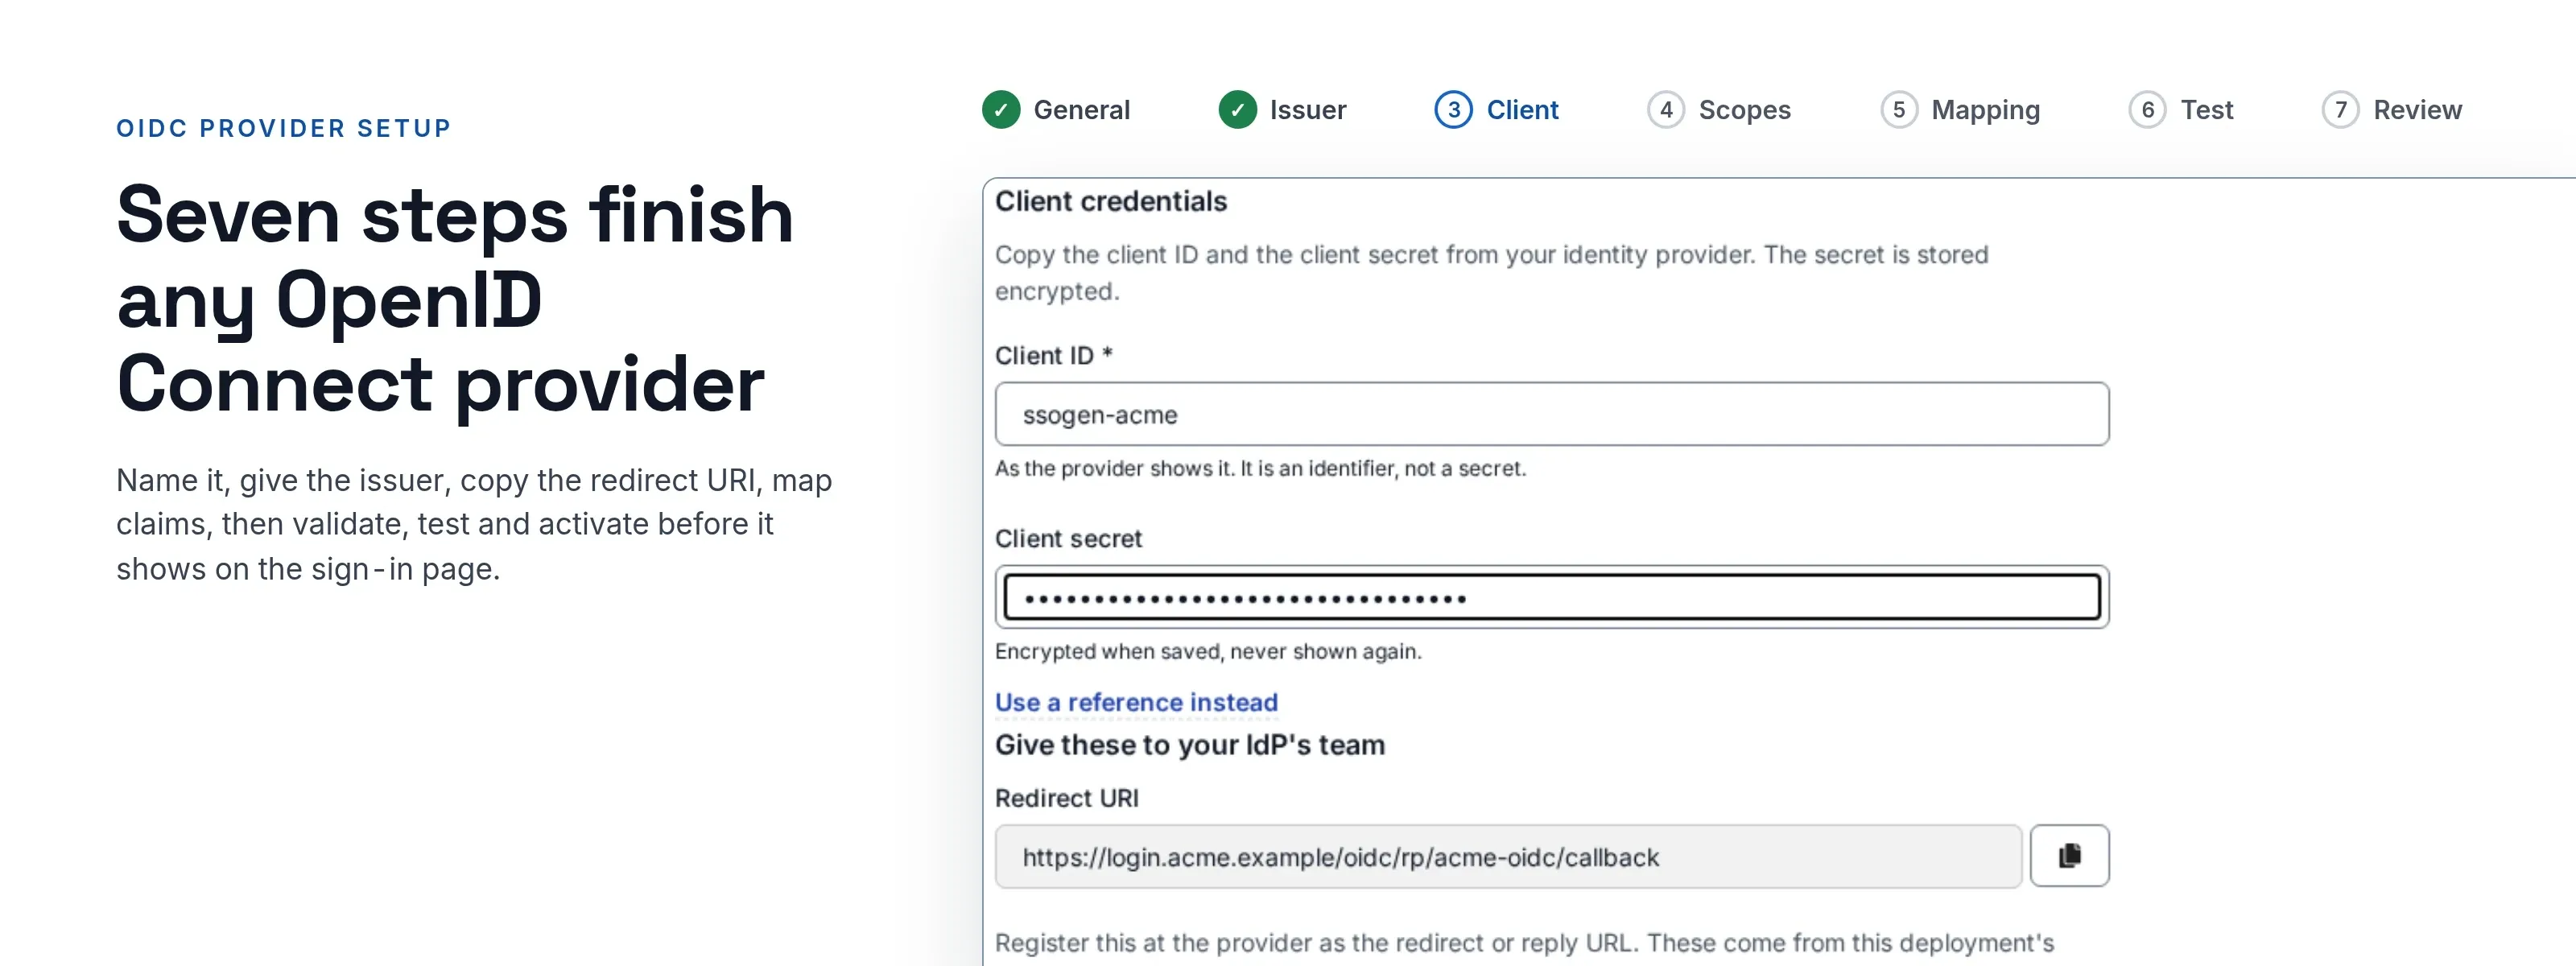
The examples use an SSOGEN at https://acme.ssogen.ai and a connection ID of okta-oidc.
The provider’s side is on its own page, for example Microsoft Entra ID, Okta or any OpenID Connect provider. All providers are listed under sign-in sources.
What you need
- An SSOGEN administrator with the Super admin or Authentication admin role. Only a Super admin can turn on joining existing accounts by email address.
- Someone who can register an application at the provider and create a client secret.
- The provider’s issuer: an
https://address that SSOGEN’s server can reach. SSOGEN reads<issuer>/.well-known/openid-configurationand the provider’s signing keys from it, and exchanges the sign-in code with the provider server to server.
How SSOGEN talks to the provider
So that the provider’s settings match on the first try:
- SSOGEN uses the authorization code flow with PKCE (
S256) on every sign-in. - It sends the client secret in the body of the token request (the method providers call client_secret_post, or POST). A provider that accepts only the HTTP Basic method refuses SSOGEN’s token request; choose the POST method there.
- The sign-in, token and key addresses in the discovery document must be on the issuer’s own host, use
https://and resolve to public addresses. (Google’s own sibling hosts are recognized for its issuerhttps://accounts.google.com.) - The
issuerthe discovery document publishes must equal the issuer you type, character for character, trailing slash included.
1. Start the setup
- In the Admin Console open SSO policies > Identity providers and select Add identity provider.
- Choose the provider’s card, or the OpenID Connect tile under Generic SAML / OpenID Connect / Directory (LDAP). A card that offers both protocols asks “How should people sign in with name?”: choose OpenID Connect and Continue.
- A card with a template (Microsoft Entra ID, Keycloak, Google) asks for one or two details, such as your tenant ID, and fills in the issuer, the scopes, the claims and the sign-in rule for you.
- A card without a template fills in the name only.
- The page Add OpenID Connect provider opens with seven steps: General, Issuer and discovery, Client credentials, Scopes and claims, Mapping, Test sign-in, Review and activate.
2. Name it, give the issuer, and copy the redirect URI
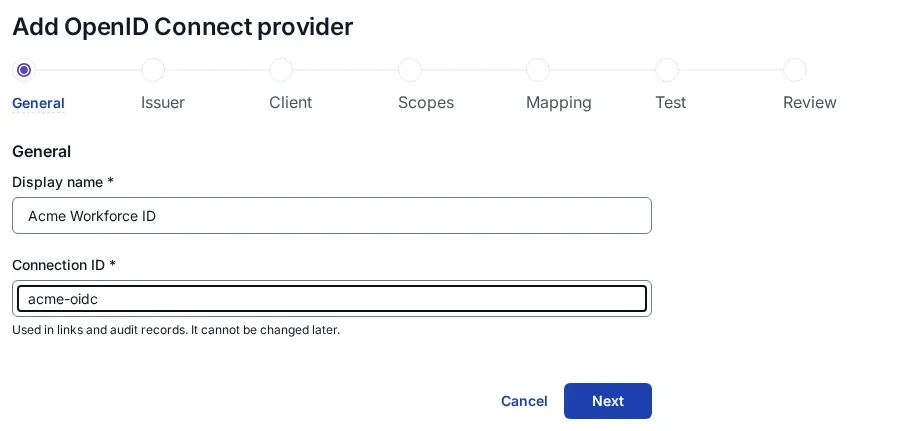
- General: type a Display name (for example
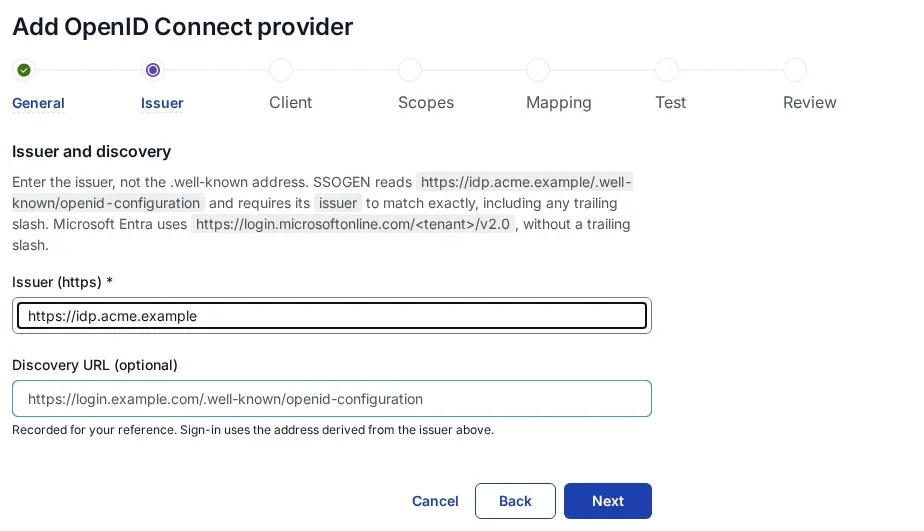
Acme Okta) and a Connection ID (lowercase letters, numbers and hyphens, at most 64 characters). The connection ID becomes part of the redirect URI and cannot be changed later. - Issuer and discovery: type the Issuer (https), for example
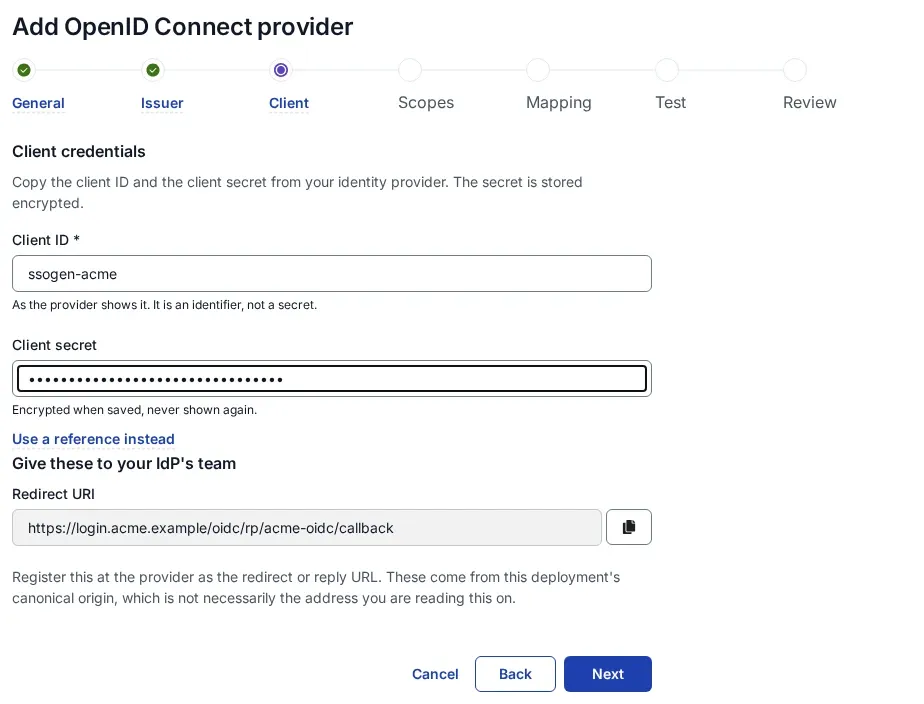
https://login.microsoftonline.com/<tenant ID>/v2.0. Type the issuer itself, not the.well-knownaddress. Discovery URL (optional) is only a note for you; sign-in always uses the address derived from the issuer. - Client credentials: the box Give these to your IdP’s team shows the Redirect URI, for example
https://acme.ssogen.ai/oidc/rp/okta-oidc/callback. Copy it.
Now register SSOGEN at the provider (the steps are on the provider’s page): a web application, the authorization code grant, this redirect URI exactly, and a client secret. Come back to the same step with the client ID and the client secret.
- Type the Client ID and the Client secret. The secret is stored encrypted and never shown again. Use a reference instead accepts a
secret://reference to a secret kept on the Secrets page.
3. Scopes and claims
Scopes and claims requests openid profile email by default. Keep that unless the provider needs another scope to release a claim you map.
On Mapping, the claims are read automatically; change a field only if your provider uses another name:
| Field | Reads this claim by default |
|---|---|
| Sign-in name claim | preferred_username |
| Mail claim | email |
| Display name claim | name |
| First name claim | given_name |
| Last name claim | family_name |
Add a mapping keeps another claim as Mobile phone or as a custom attribute.
The Sign-in name claim names the account SSOGEN creates at a first sign-in: lowercased, it is used when it contains only letters, digits and . _ @ + -, is at most 120 characters, and no other account has it.
Otherwise SSOGEN generates a name from the connection ID and the provider’s subject (sub), and a person who lands on My Apps sees “Your account was created with a generated sign-in name because the name your identity provider sent is already in use or not allowed. Your administrator can change it.” The sub claim is what recognizes the same person next time.
The same step starts with Who may sign in; see section 6.
4. Save, validate, test and try
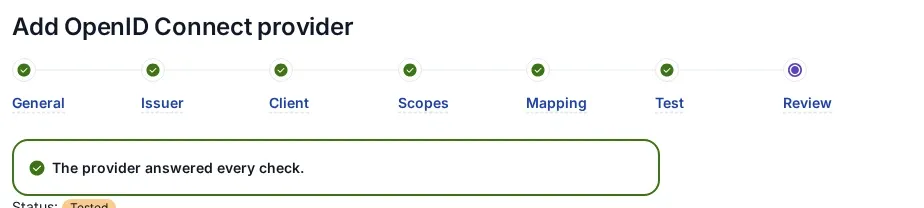
- On Test sign-in, select Create provider. The provider is saved as a draft.
- On Review and activate, select Validate, then Test. Test reads the discovery document and the signing keys, and checks the client ID and secret where the provider allows it. Where it cannot, Test passes in amber: “The client ID and secret could not be verified until a real sign-in. Try a sign-in to confirm them before people use this provider.”
- Select Try signing in (Try connection on the provider’s page) and sign in at the provider as a test person, in a private window. SSOGEN shows what the provider sent and what it would do, and creates nothing.
- Select Activate.
5. Offer it on the sign-in page
Allow the provider in the policy that applies: SSO policies > Policies, the policy, Requirements, First factor, Single sign-on with an external provider, tick the provider. For My Apps that is the default policy under SSO policies > Defaults; with no default set, My Apps offers every active provider. See Create an authentication policy and assign it.
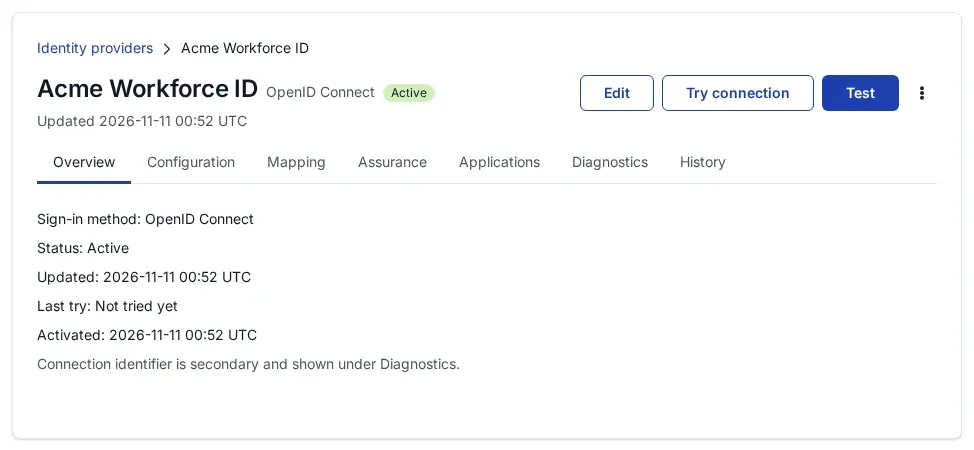
On the provider’s Configuration tab, Sign-in domains send people who type an address at your domain straight to this provider, and SSOGEN passes what they typed to the provider as a sign-in hint.
6. Who may sign in, and the first sign-in
Every OpenID Connect provider carries a sign-in restriction (provider page, Configuration, Sign-in restriction, Save sign-in restriction), checked at every sign-in:
- Only people already linked to this provider: the default for a provider added from the generic tile. A new provider has nobody linked, so this lets nobody in, not even people who already have an account in SSOGEN. SSOGEN never matches an existing account by its username.
- Anyone this provider vouches for (a new account is created): each person gets an account at first sign-in.
- Required claims: a claim and the values you allow, such as
tid(your Entra tenant ID) orhd(your Google Workspace domain). The claim must carry exactly one value, which must be in your list. For a provider that signs in people from many organizations, always add one.
The Microsoft Entra ID template sets Anyone this provider vouches for with tid required. The Keycloak template sets Anyone this provider vouches for. The Google template sets Only people already linked to this provider, because Google signs in anyone with a Google account.
People who already have an account can use it through the provider by email address. A Super admin sets Account matching to Sign in to the existing account.
SSOGEN joins a first sign-in to an existing account when the restriction has a required claim, the provider sends email with email_verified true for that address, and exactly one active account that is not an administrator’s has that address. A sign-in whose address the provider does not mark as verified is refused. The account’s owner gets an email whose subject begins “SSOGEN sign-in method linked”.
Signing out
By default, signing out of SSOGEN leaves the person signed in at the provider. To end that session too, turn on Also sign out of this provider under Signing out. SSOGEN sends the browser to the provider’s end_session_endpoint and asks it to return to https://acme.ssogen.ai/logout/complete. A provider that returns people only to registered addresses needs that address registered as a sign-out (post-logout) redirect URI.
Messages you may meet
| Message | What to do |
|---|---|
| “The provider rejected the redirect URI. Register the one shown on this provider.” | Register the Redirect URI at the provider exactly as shown. |
| “The provider rejected the client credentials. Check the client ID and secret.” | Retype them under Edit, Client credentials, or create a new secret. Check that the provider accepts the secret in the request body (POST). |
| “The provider reports a different issuer. Enter it exactly as the provider publishes it.” | Copy the issuer value from the provider’s discovery document. |
| “The provider’s discovery document names a sign-in, token or key endpoint SSOGEN may not contact: on another host than the issuer’s, not HTTPS, or a private address. Check with the provider that the issuer is the one they publish.” | Use the provider’s public issuer. A provider on a private network cannot be reached; consider SAML with an uploaded metadata file. |
| “The ID token was issued for a different client. Check the client ID.” | The client ID in SSOGEN differs from the application at the provider. |