SSOGEN / Any OIDC identity provider as a sign-in source
SSOGEN
Any OIDC identity provider as a sign-in source
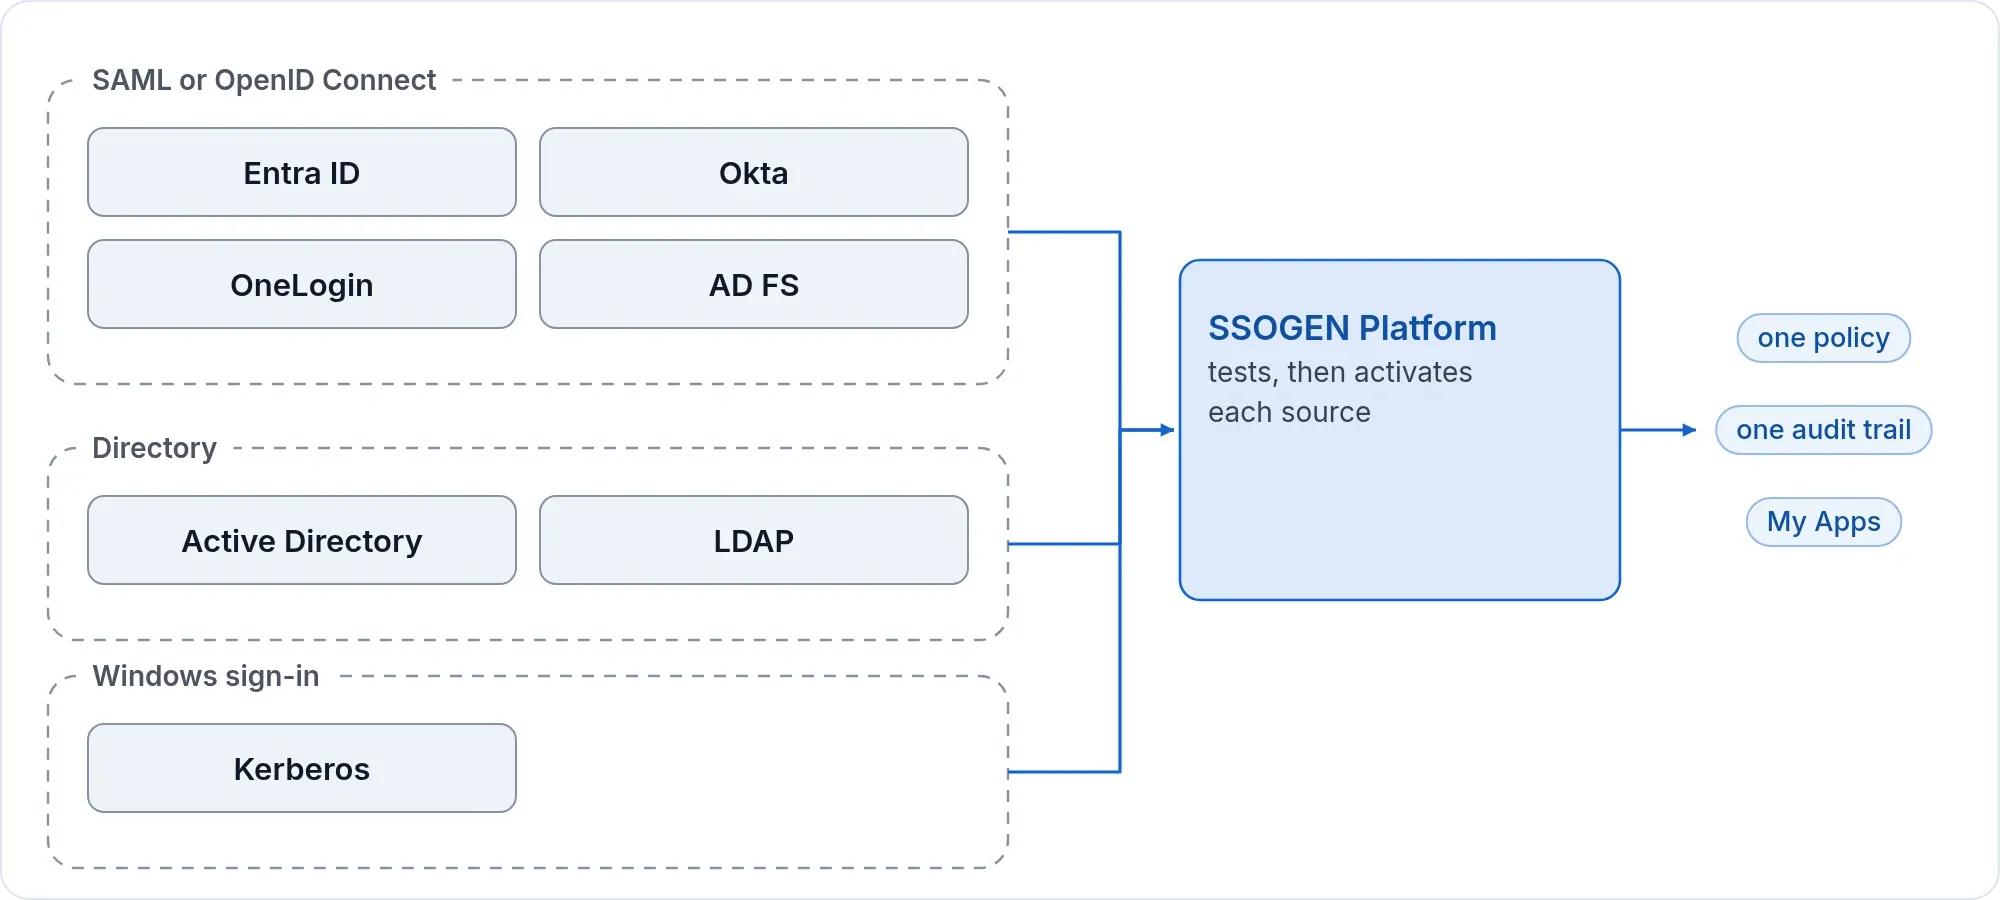
Register SSOGEN as a web application, then give it the issuer, client ID and client secret; Auth0 and Cisco Duo connect the same way.
What you need
- An administrator of the provider who can register an application and create a client secret.
- The provider’s issuer, for example
https://login.partner.example. - An SSOGEN Super admin or Authentication admin.
Step 1. At the provider
Register a web (confidential, server-side) application with:
| The provider asks for | Value |
|---|---|
| Redirect URI, callback, reply URL | https://acme.ssogen.ai/oidc/rp/partner-oidc/callback (copy yours from SSOGEN’s Client credentials step) |
| Grant type | Authorization code |
| Client authentication | Client secret, sent in the request body (client_secret_post, often shown as POST) |
| PKCE | Allowed or required with S256 |
| Scopes | openid, profile, email |
| Sign-out (post-logout) redirect URI, only if you turn on signing out of the provider | https://acme.ssogen.ai/logout/complete |
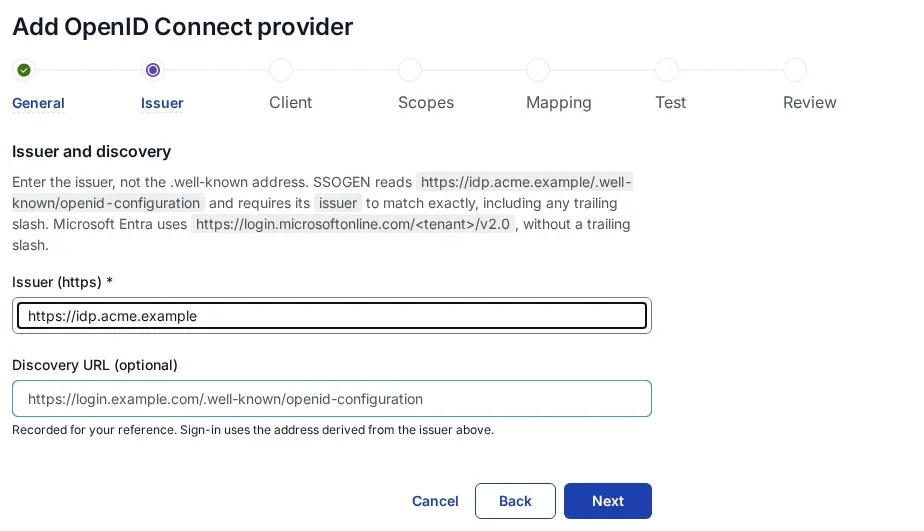
Copy the client ID and the client secret.
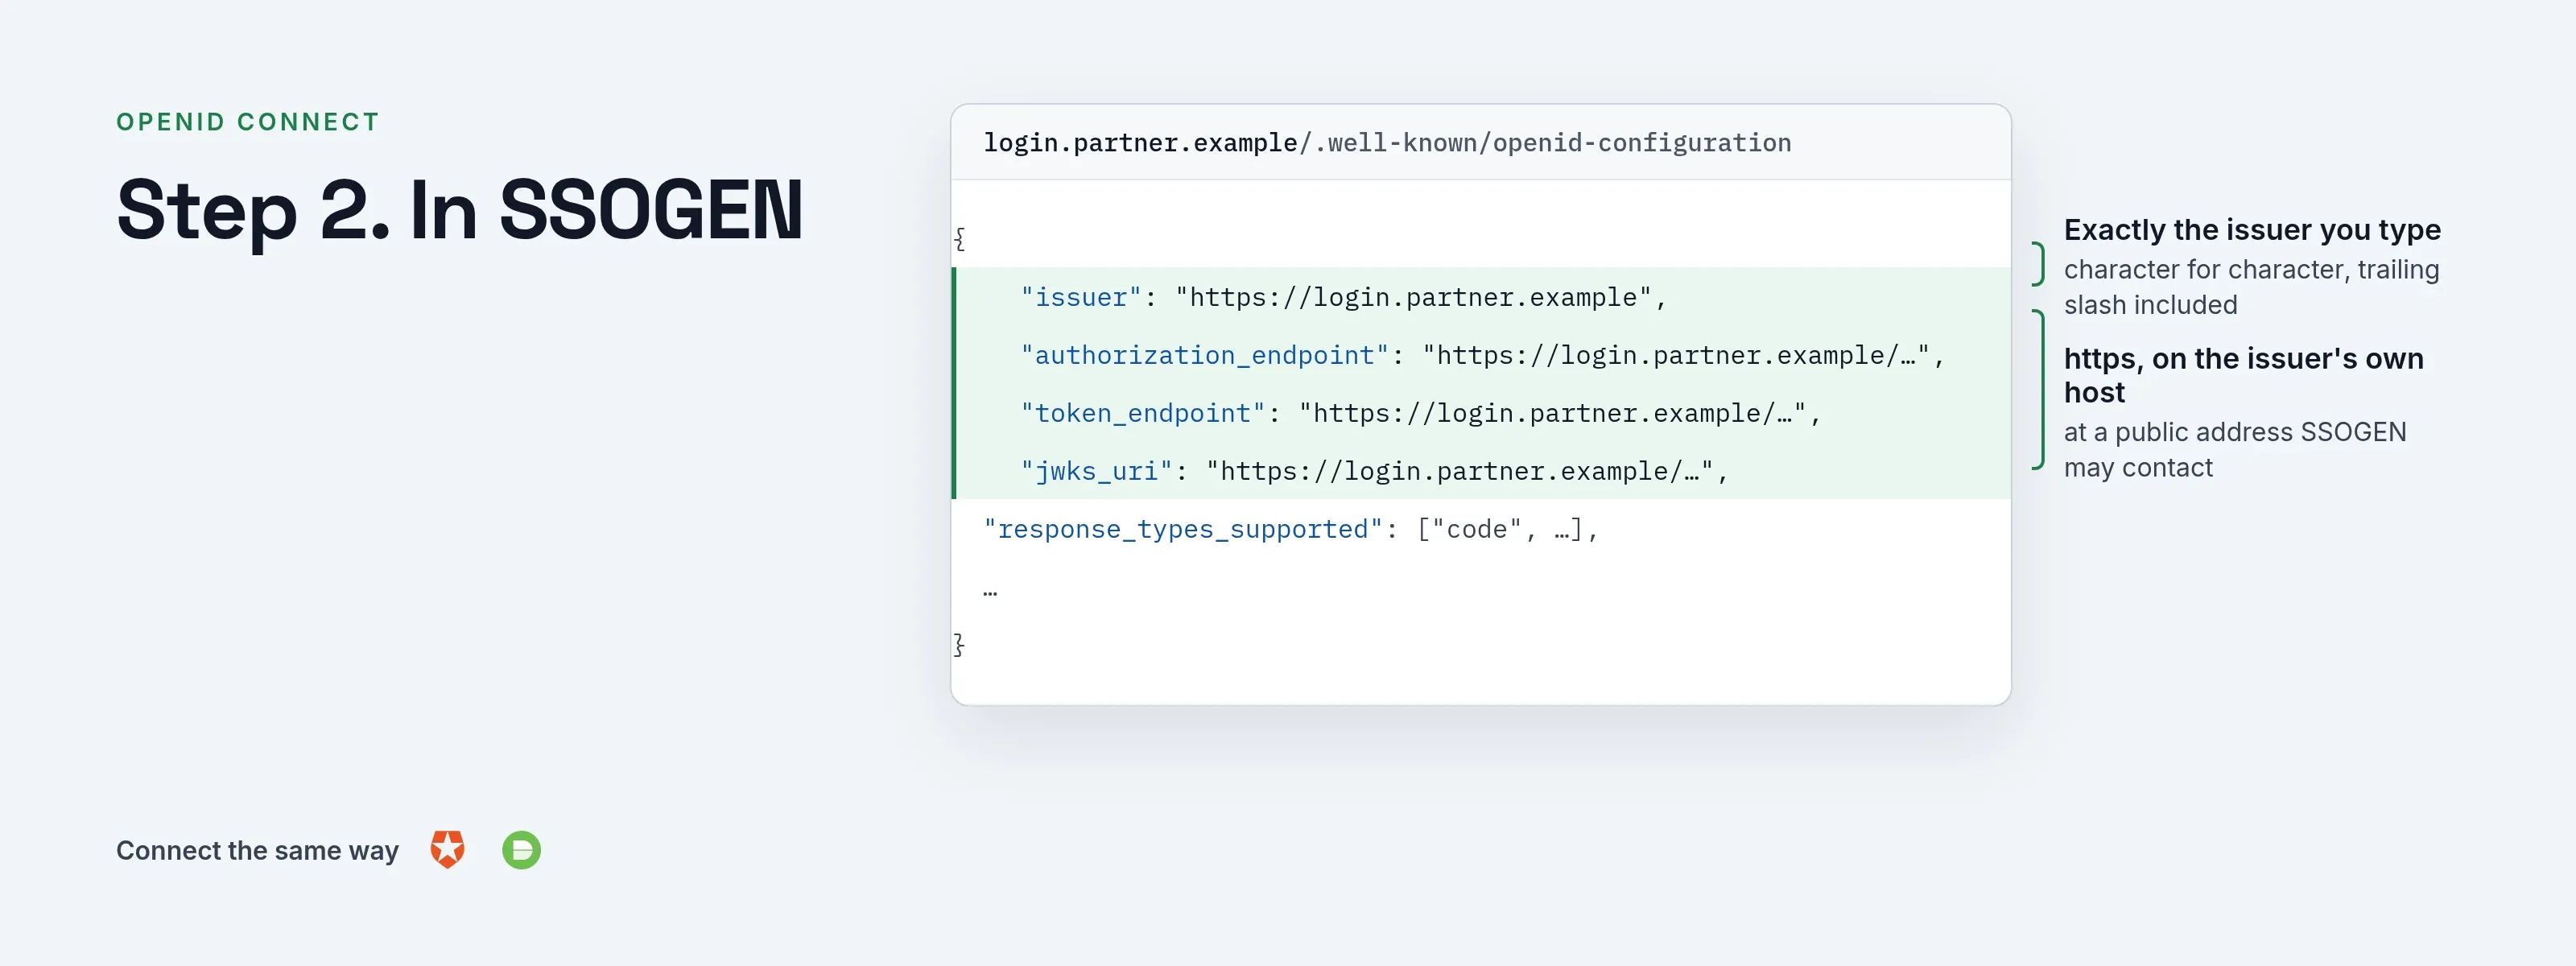
Check the provider’s discovery document at <issuer>/.well-known/openid-configuration:
- its
issuermust equal the issuer you give SSOGEN exactly, trailing slash included; - its
authorization_endpoint,token_endpointandjwks_urimust behttps://addresses on the issuer’s own host, reachable at public addresses; - the ID token should carry
sub, and ideallypreferred_username,emailandname.
Step 2. In SSOGEN
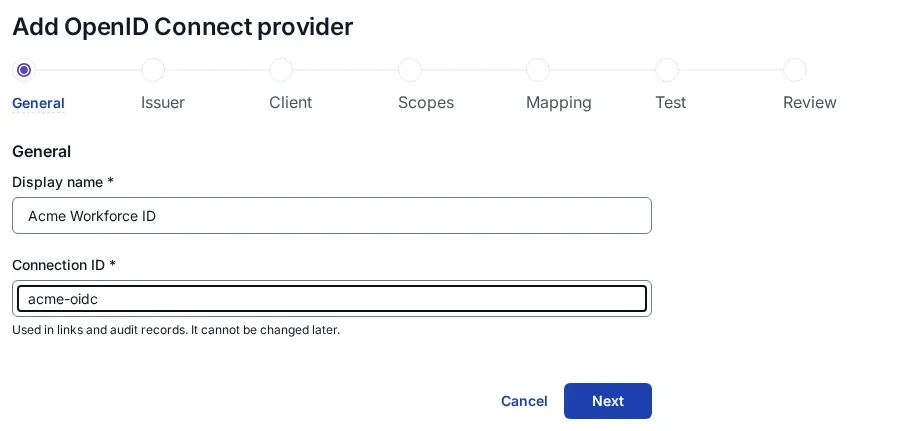
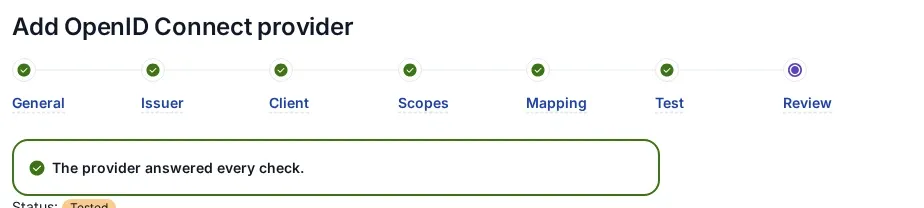
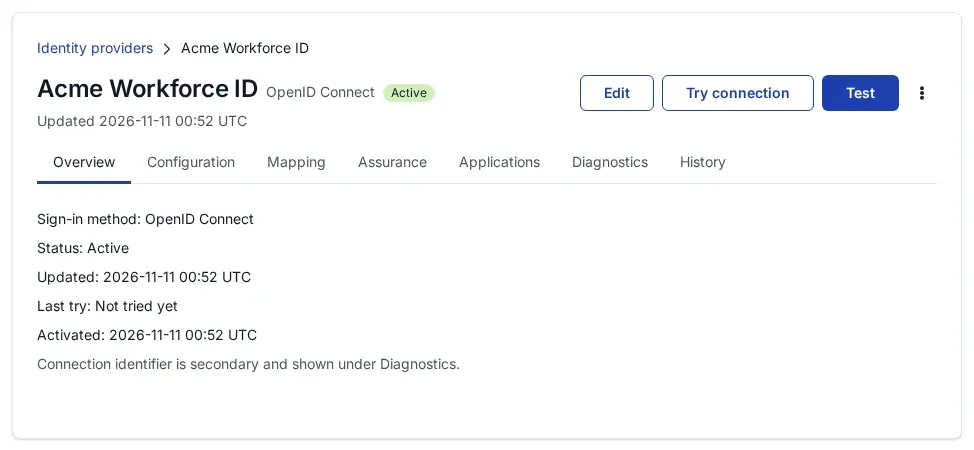
Choose the OpenID Connect tile under Generic SAML / OpenID Connect / Directory (LDAP), or the provider’s card if it has one (for example Auth0 or Cisco Duo SSO). Type the issuer, the client ID and the client secret, keep the default scopes and claims or name your provider’s claims on Mapping, then Create provider, Validate, Test, Try signing in and Activate. Every screen is described in Add an OpenID Connect identity provider in SSOGEN.
Step 3. Who may sign in, and the first sign-in
A provider added from the generic tile admits only people already linked to it, which on day one is nobody. Choose Anyone this provider vouches for (a new account is created) on Configuration > Sign-in restriction, and, if the provider signs in people from more than one organization, add a required claim that names your organization (a tenant, domain or organization claim with one value). Accounts take the preferred_username when it is free and well formed. See section 6 of Add an OpenID Connect identity provider in SSOGEN.
What the user sees
Jane Doe chooses the provider under Sign in with (or is sent there by her email domain), signs in at the provider, and lands on her applications in SSOGEN.
Troubleshooting
| Symptom | Cause |
|---|---|
| Test says “The discovery document could not be read. Check the issuer URL.” | The issuer is wrong, includes the .well-known part, or SSOGEN’s server cannot reach it. |
| Test says “The provider reports a different issuer.” | The discovery document’s issuer differs from what you typed, often by a trailing slash. |
| Test says the discovery document names an endpoint SSOGEN may not contact. | The token or key address is on another host, uses http://, or resolves to a private address. |
| Try connection says “The provider rejected the client credentials. Check the client ID and secret.” | Wrong secret, or the provider accepts only HTTP Basic client authentication. Allow the POST method. |
| Try connection says “The provider rejected the redirect URI. Register the one shown on this provider.” | The redirect URI at the provider differs from SSOGEN’s. |