SSOGEN / Okta as the identity provider for SSOGEN
SSOGEN
Okta as the identity provider for SSOGEN
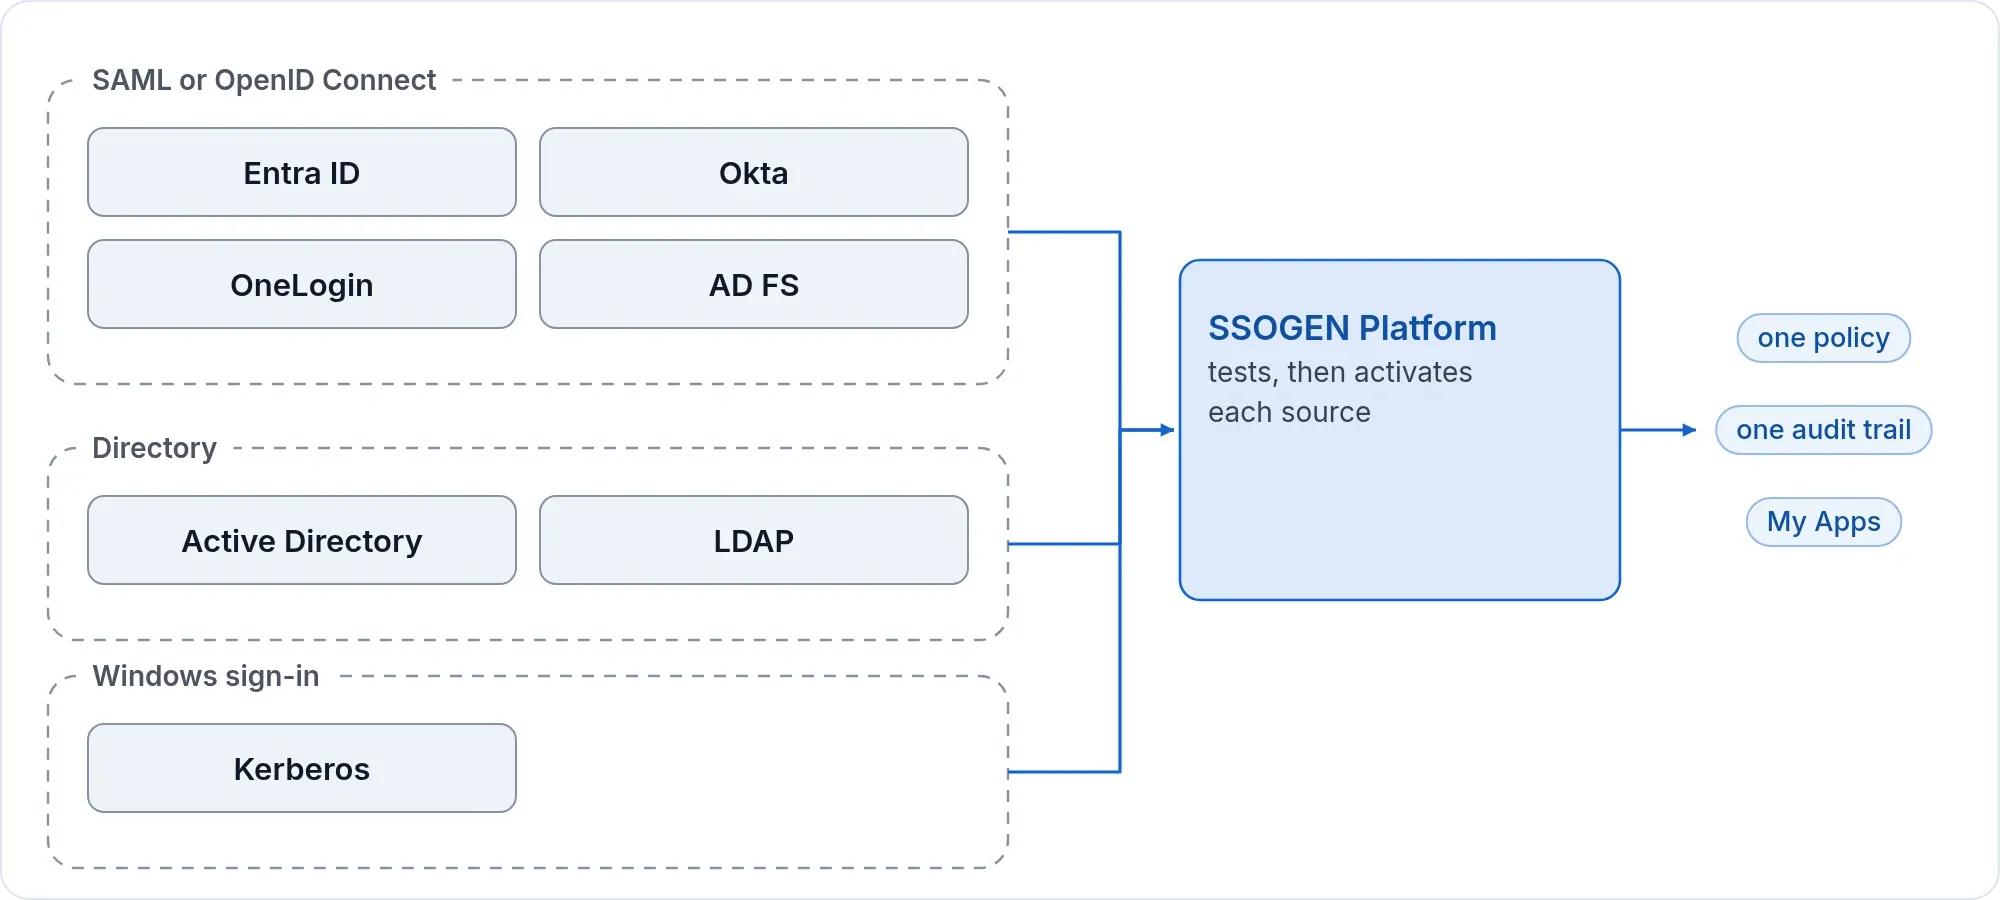
People sign in with their Okta password and MFA, then SSOGEN opens every application it protects, including Oracle apps Okta does not reach.
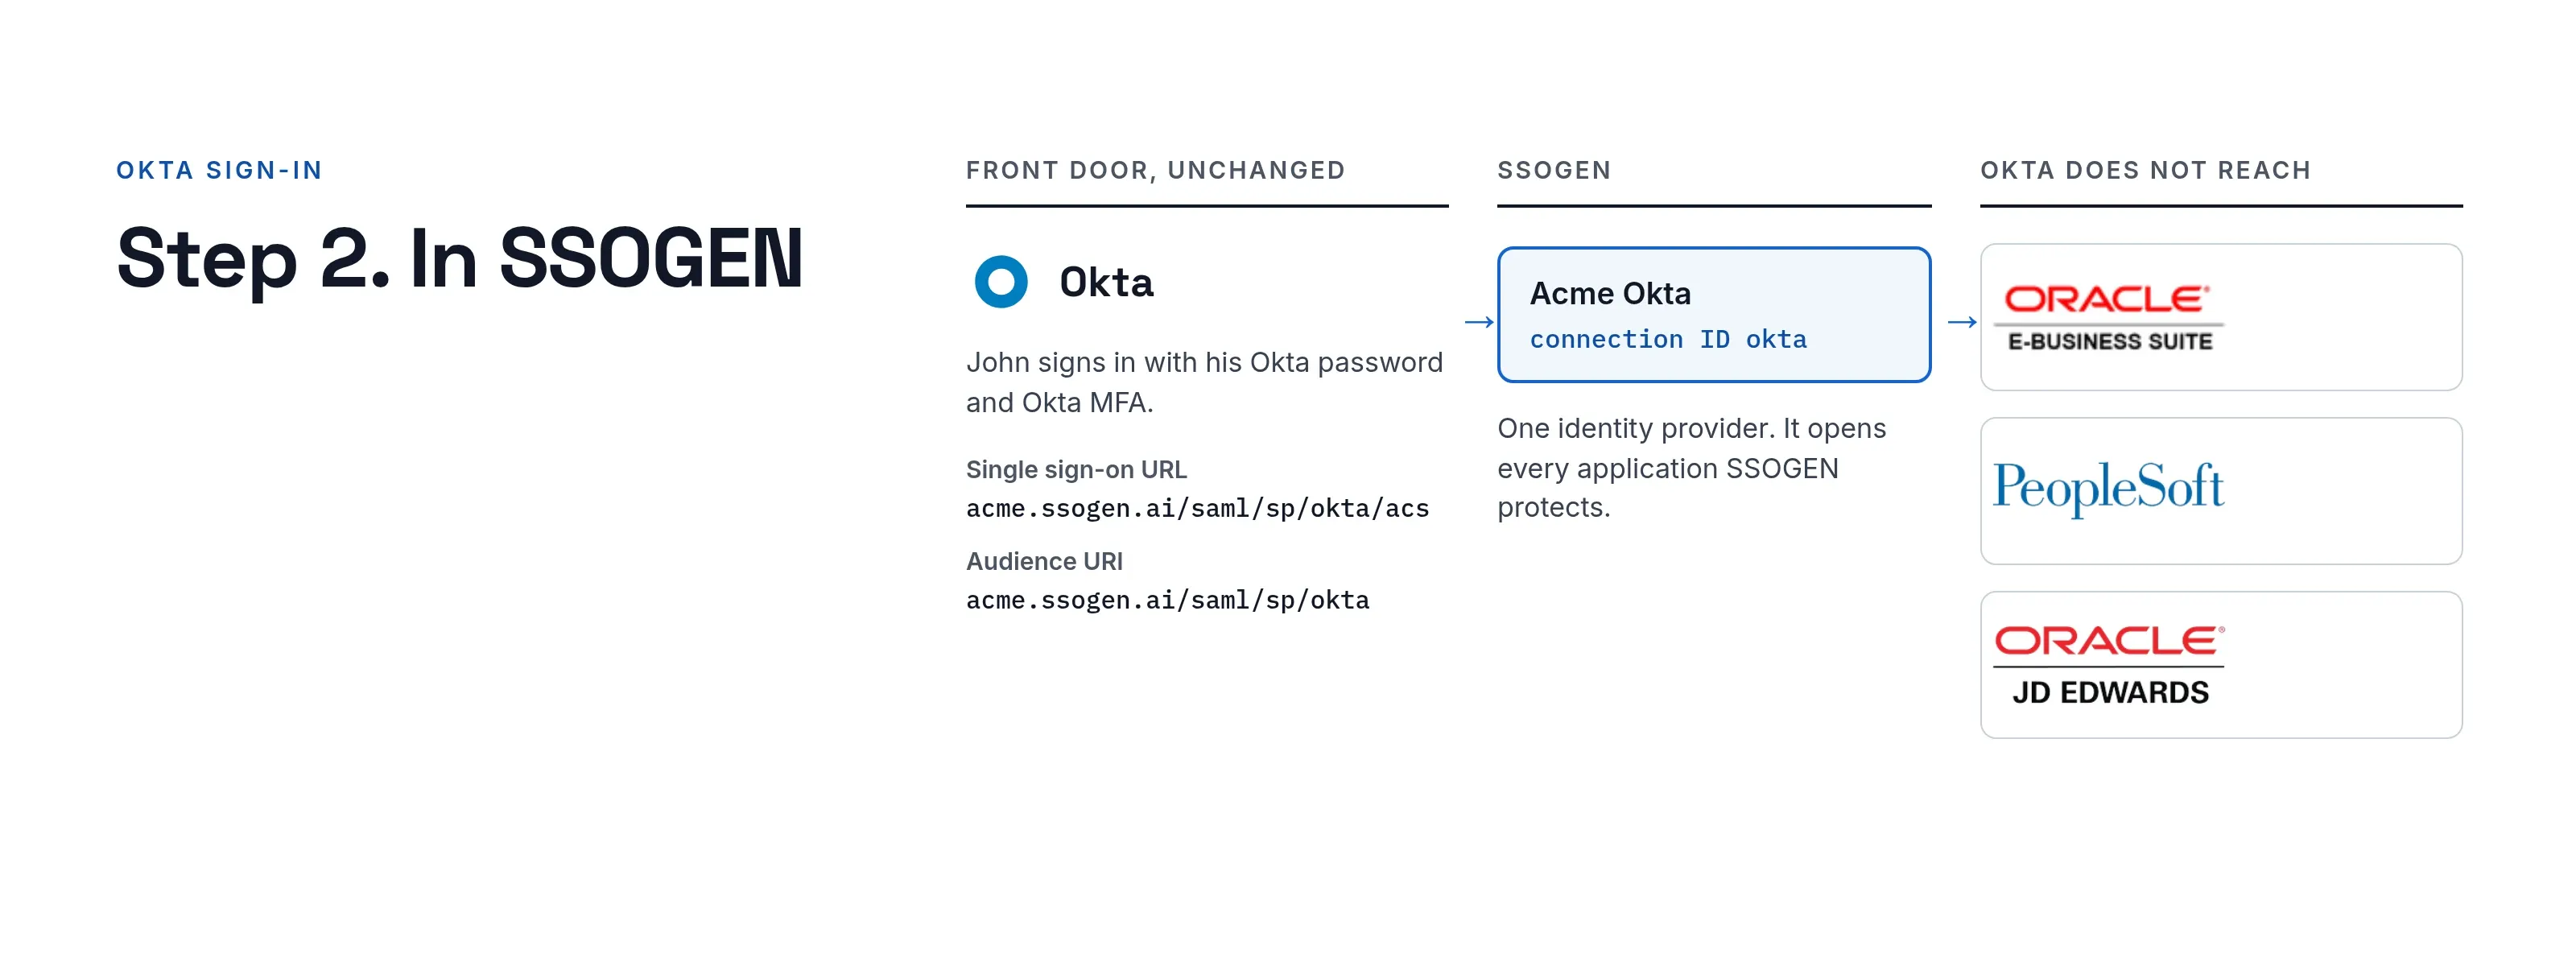
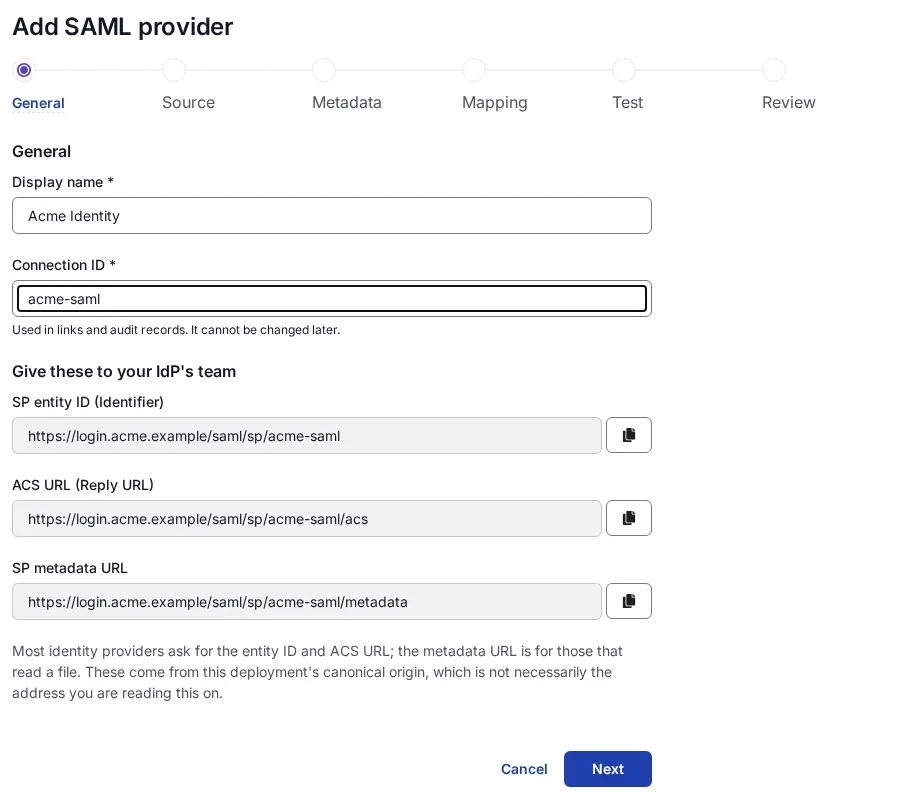
For PeopleSoft with Okta, set up PeopleSoft as on the PeopleSoft page and Okta as the sign-in source on this page.
What you need
- An Okta administrator who can create app integrations and assign people or groups.
- An SSOGEN Super admin or Authentication admin.
- Your SSOGEN address (here
https://acme.ssogen.ai) and a connection ID for this provider (hereokta).
Step 1. In Okta
SAML
- In SSOGEN, start the setup and copy the SP entity ID and ACS URL (Add a SAML identity provider in SSOGEN, section 1). Choose the Okta card, then SAML.
- In the Okta Admin Console, open Applications > Applications and select Create App Integration. Choose SAML 2.0 and Next.
- General Settings: name the app, for example
SSOGEN, and select Next. - Configure SAML:
| Okta field | Value |
|---|---|
| Single sign-on URL | https://acme.ssogen.ai/saml/sp/okta/acs (SSOGEN’s ACS URL). Keep Use this for Recipient URL and Destination URL ticked. |
| Audience URI (SP Entity ID) | https://acme.ssogen.ai/saml/sp/okta (SSOGEN’s SP entity ID) |
| Default RelayState | empty |
| Name ID format | Unspecified (or EmailAddress; then choose the same format in SSOGEN) |
| Application username | Okta username or Email: a value that is unique and does not change |
- Under Show Advanced Settings, leave Assertion Signature at Signed. SSOGEN requires a signed assertion.
- Under Attribute Statements, add
emailwith the valueuser.email, anddisplayNamewith the valueuser.displayName. (In orgs that manage claims on the Sign On tab, add them there with Add expression after the app is created.) - Select Next, answer the feedback page as an internal app, and select Finish.
- On the app’s Assignments tab, select Assign and assign the people or groups who may use SSOGEN.
- On the Sign On tab, copy the metadata URL shown there, or under SAML Signing Certificates open Actions on the active certificate, choose View IdP metadata and save the XML as a file.
Okta’s issuer has the form http://www.okta.com/<id>. SSOGEN accepts it as it is.
OpenID Connect
- In SSOGEN, choose the Okta card, then OpenID Connect, and copy the Redirect URI from Client credentials, for example
https://acme.ssogen.ai/oidc/rp/okta-oidc/callback(Add an OpenID Connect identity provider in SSOGEN, section 2). - In Okta, Applications > Applications > Create App Integration, choose OIDC - OpenID Connect and the application type Web Application, then Next.
- Name it, keep Authorization Code ticked under Grant type, and add the redirect URI under Sign-in redirect URIs. Leave wildcards off.
- Under Assignments, choose Limit access to selected groups and name the group, or skip and assign later on the Assignments tab. Select Save.
- On the General tab, under Client Credentials, copy the Client ID; keep Client secret as the client authentication and copy the secret. Ticking Require PKCE as additional verification is fine: SSOGEN always uses PKCE.
- The issuer is your Okta org address, for example
https://<your Okta domain>, with no trailing slash. Openhttps://<your Okta domain>/.well-known/openid-configurationand copy itsissuervalue to be sure. If your org uses a custom URL domain, use the issuer shown in the app’s Sign On tab.
Step 2. In SSOGEN
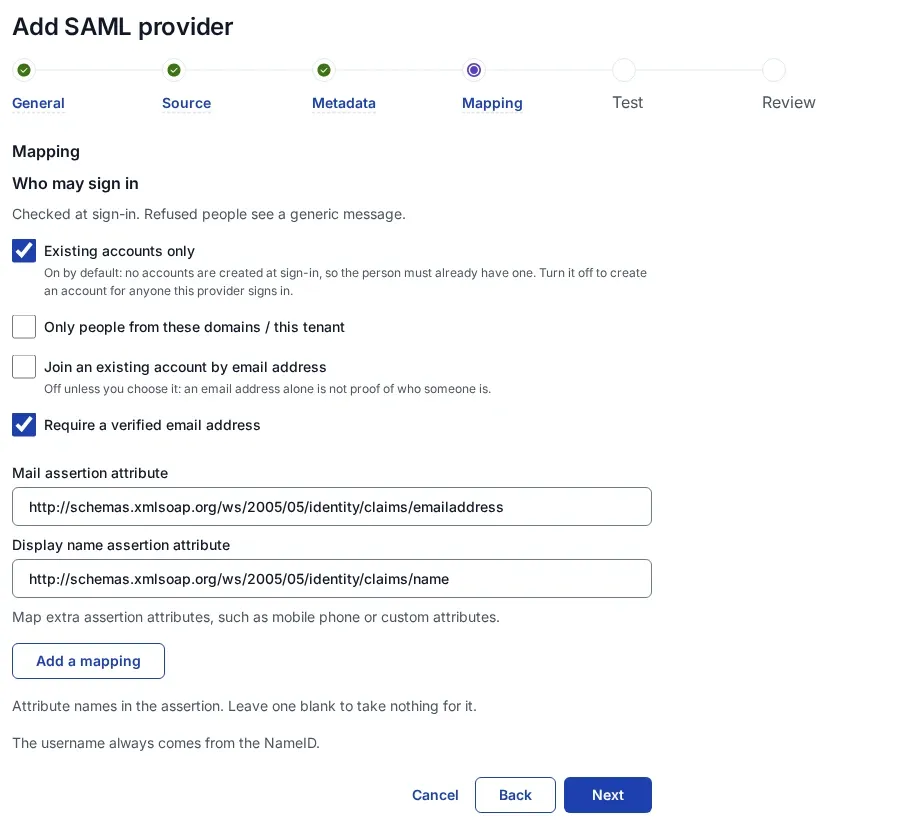
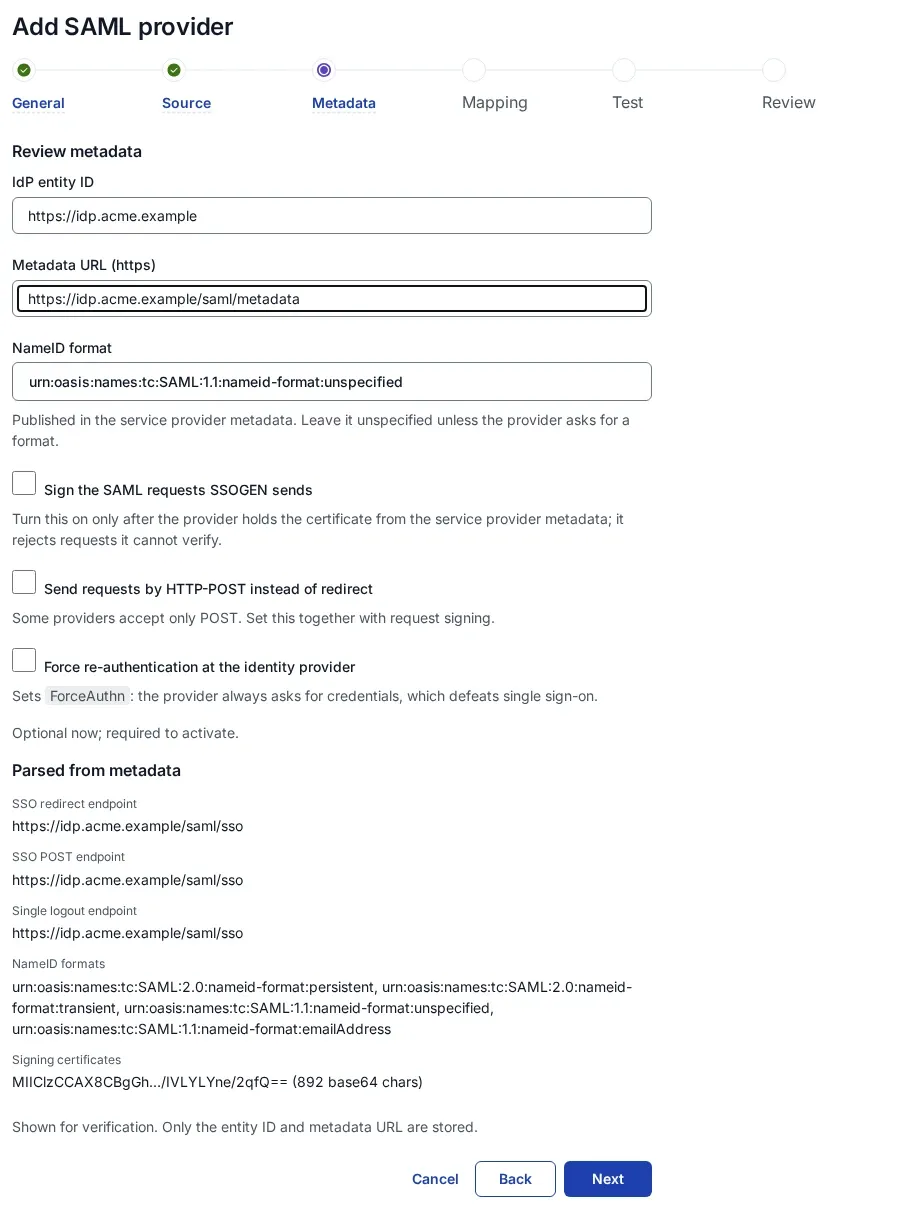
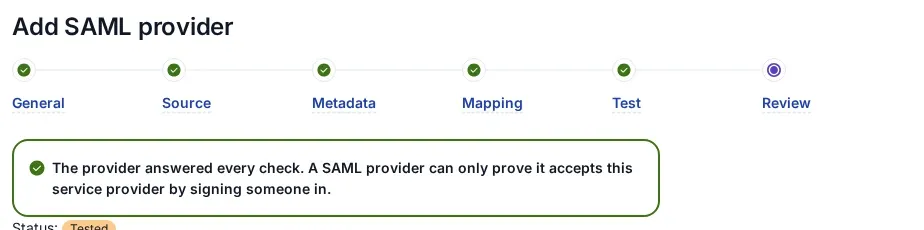
- SAML: on Metadata source, choose Metadata URL and paste the Okta metadata URL, then Fetch metadata; or Metadata file upload with the saved XML. On Mapping, set Mail assertion attribute to
emailand Display name assertion attribute todisplayName. Then Create provider, Validate, Test, Try signing in, Activate. The full steps are in Add a SAML identity provider in SSOGEN. - OpenID Connect: type the issuer, the client ID and the client secret, keep the default scopes
openid profile emailand the default claims. Then save, validate, test, try and activate as in Add an OpenID Connect identity provider in SSOGEN.
Allow the provider in the policy that applies (SSO policies > Policies, First factor, Single sign-on with an external provider).
Step 3. Who may sign in, and the first sign-in
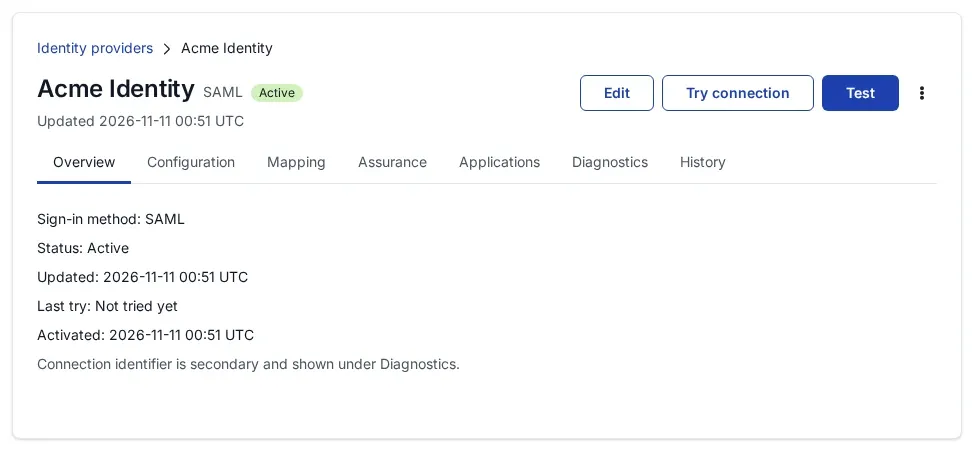
Okta decides who reaches SSOGEN through the app’s assignments. In SSOGEN, a new provider admits only people already linked to it, which on day one is nobody. Choose one of these on the provider’s Configuration tab, Sign-in restriction:
- Anyone this provider vouches for (a new account is created): each assigned person gets an SSOGEN account at first sign-in. Over SAML the account is named after the NameID, for example
okta_john.doe_acme.example; over OpenID Connect it takes Okta’spreferred_username, for examplejohn.doe@acme.example. - If people already have SSOGEN accounts, a Super admin turns on account matching by email address. That needs a required claim and a verified email signal from Okta; see section 6 of the SAML or OpenID Connect page.
What the user sees
John Doe opens https://acme.ssogen.ai. If Okta is the only way to sign in, his browser goes straight to Okta; otherwise he chooses Acme Okta under Sign in with, or types john.doe@acme.example if acme.example is a sign-in domain of this provider. He signs in at Okta and lands on his applications in SSOGEN. If he already has an Okta session, he does not see Okta at all. When a policy asks for a second factor that Okta’s sign-in does not count for, SSOGEN asks for it before the session starts.
Troubleshooting
| Symptom | Cause |
|---|---|
| Okta shows an error page saying the user is not assigned to the application. | John is not assigned to the app integration, directly or through a group. Assign him on the Assignments tab. |
| Try connection says “The assertion was addressed to a different service provider.” | Audience URI (SP Entity ID) in Okta differs from SSOGEN’s SP entity ID. Paste it again; check https and the connection ID. |
Okta shows an error about the redirect_uri parameter. |
The redirect URI SSOGEN sent is not listed in Sign-in redirect URIs. Add it exactly as SSOGEN shows it. |
| The person sees “You cannot sign in with this provider”. | The sign-in restriction is still Only people already linked to this provider, or a required claim does not match. Change it as in Step 3; the audit log names the reason. |
| Sign-ins stop after a certificate change in Okta, and Try connection says the signature did not verify. | Okta now signs with a new certificate. Fetch the metadata again in SSOGEN, save the revision and activate it. Do this before you activate the new certificate in Okta. |