SSOGEN / Single sign-on for ServiceNow with SSOGEN
SSOGEN
Single sign-on for ServiceNow with SSOGEN
Multi-Provider SSO takes SSOGEN's metadata, matches people on email and keeps a local administrator login for the way back in.
The example instance is https://acme.service-now.com and SSOGEN runs at https://acme.ssogen.ai.
What you need
- A ServiceNow administrator who can install plugins (
admin) and edit identity provider records. - A ServiceNow user record for every person, with the email address they have in SSOGEN, and a local ServiceNow administrator with a password for the way back in.
- An SSOGEN administrator who can save SAML applications (see Add a SAML application in SSOGEN).
Step 1. In SSOGEN: add ServiceNow
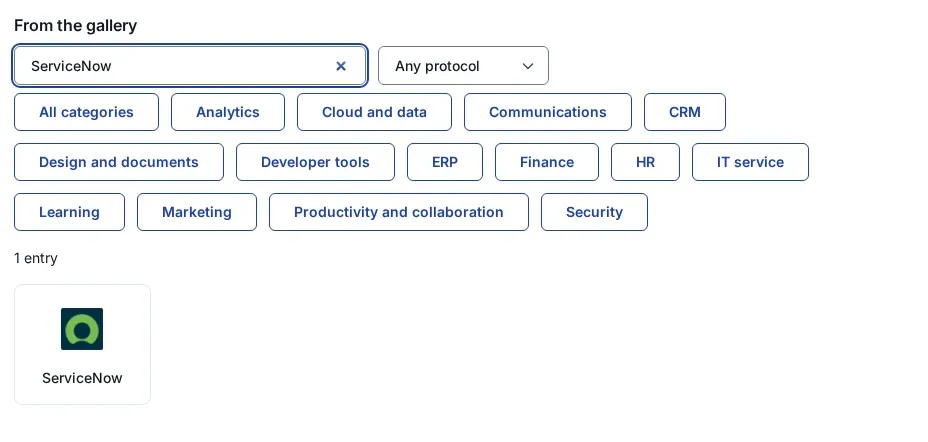
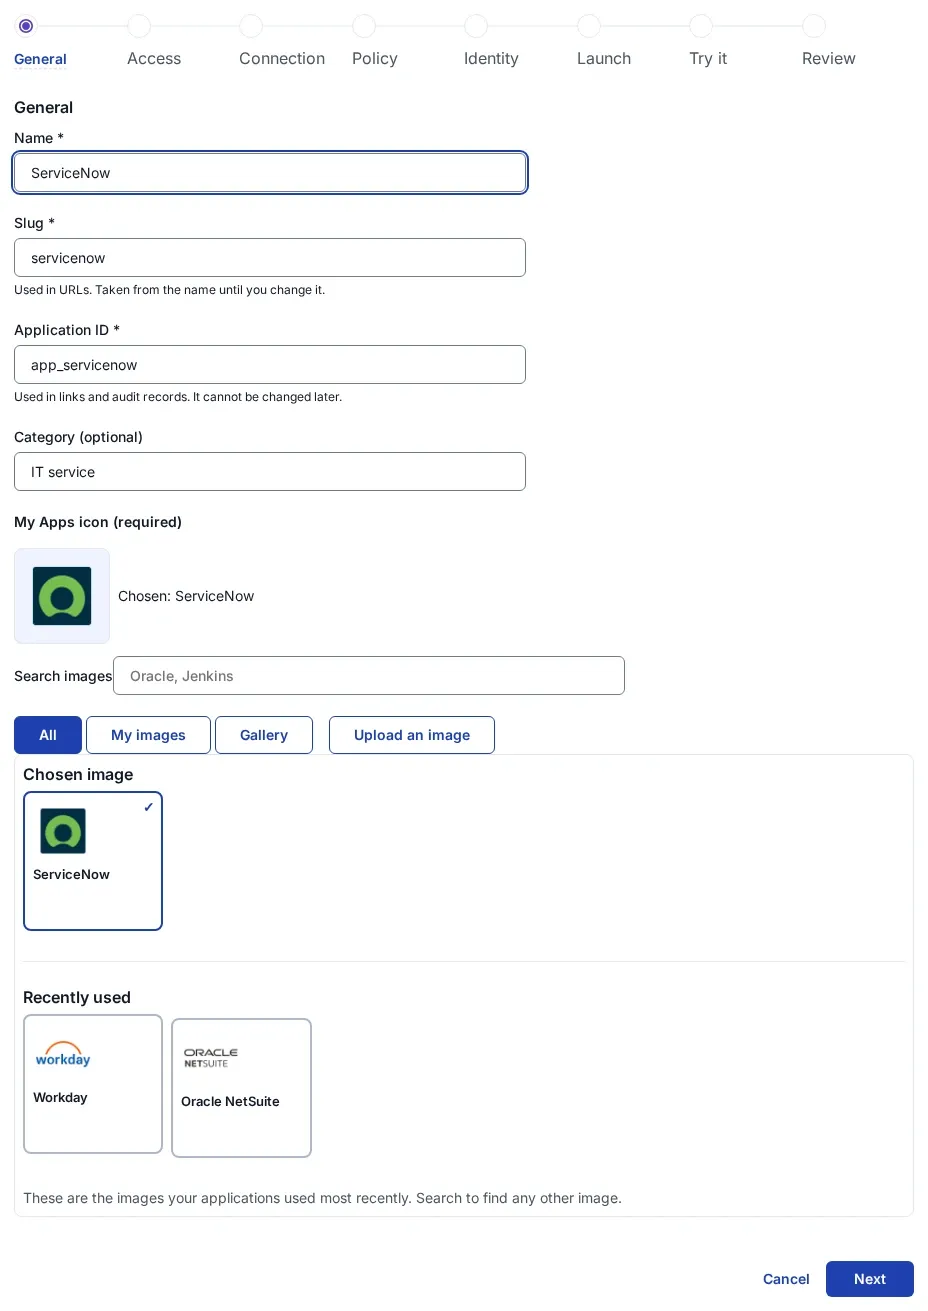
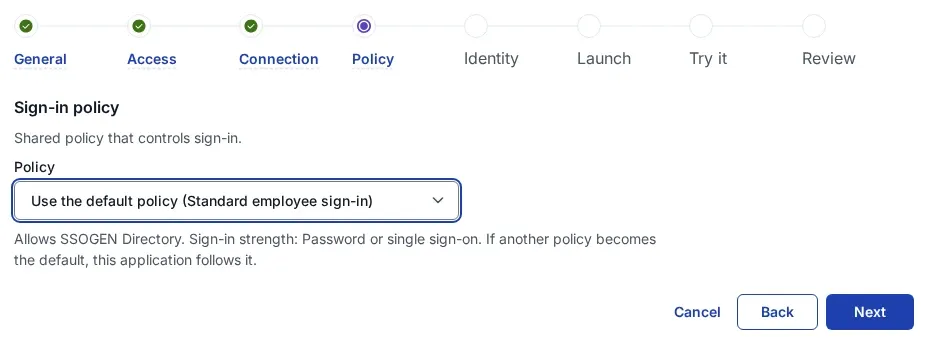
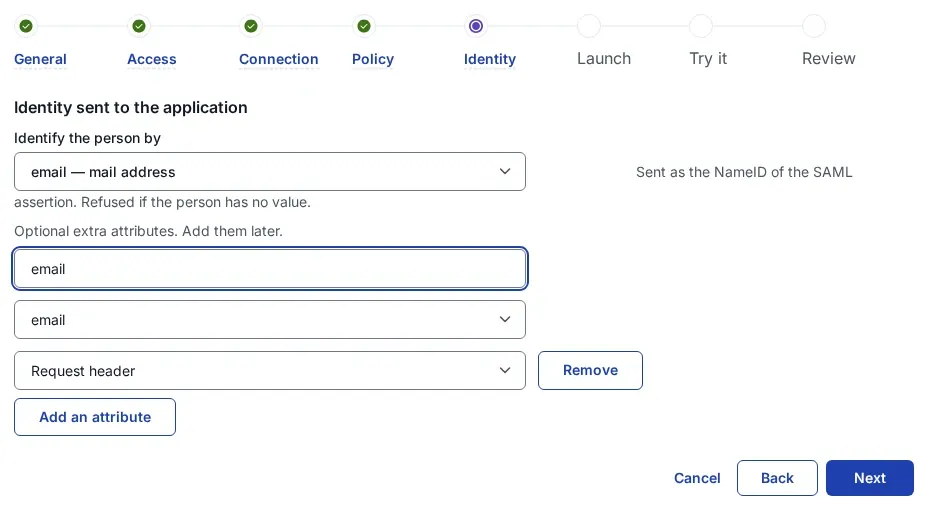
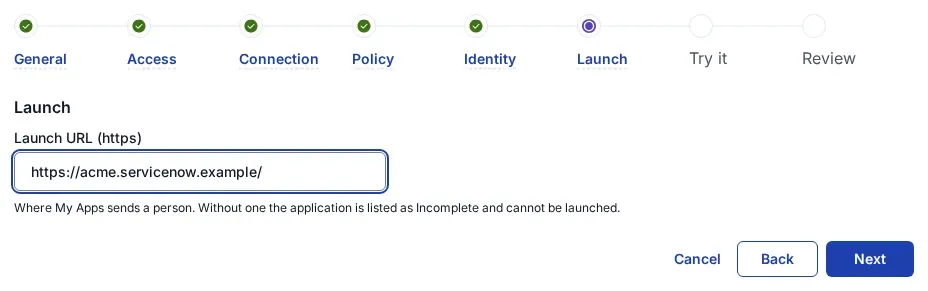
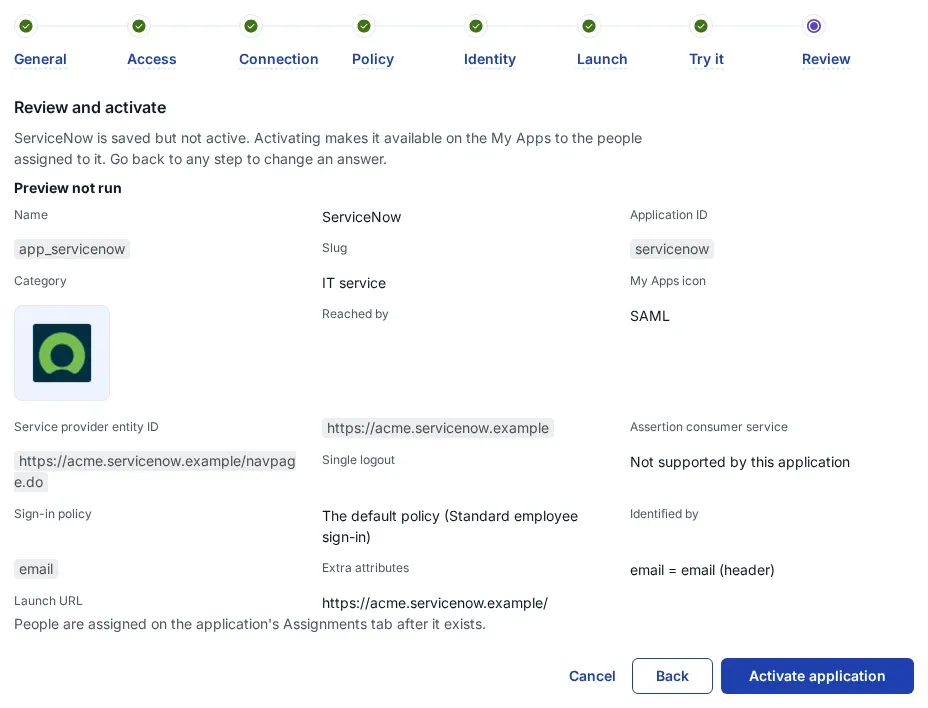
Follow Add a SAML application in SSOGEN with the gallery card ServiceNow and these values:
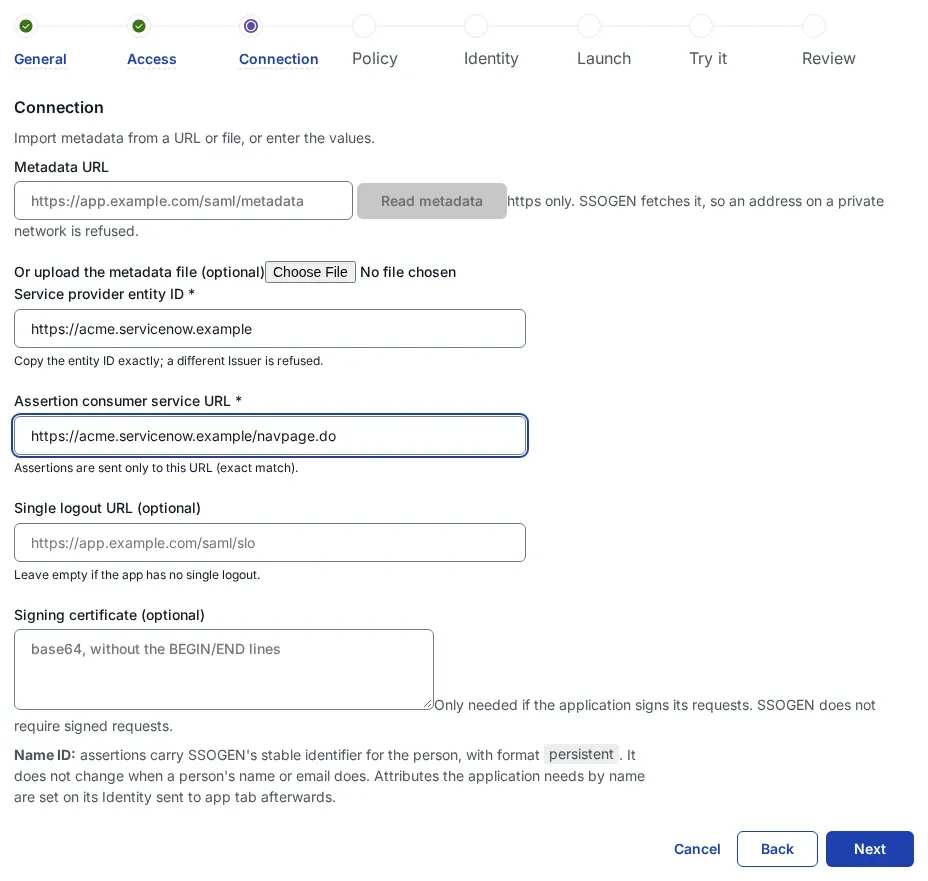
| SSOGEN field | Value for ServiceNow |
|---|---|
| Service provider entity ID | https://acme.service-now.com |
| Assertion consumer service URL | https://acme.service-now.com/navpage.do |
| Identify the person by | email — mail address |
| Launch URL (https) | https://acme.service-now.com/ for now; step 2 gives the final address |
ServiceNow compares the entity ID exactly. Its form stores the value you type in Entity ID/Issuer; type the same string in both places, with or without a trailing slash, never one of each.
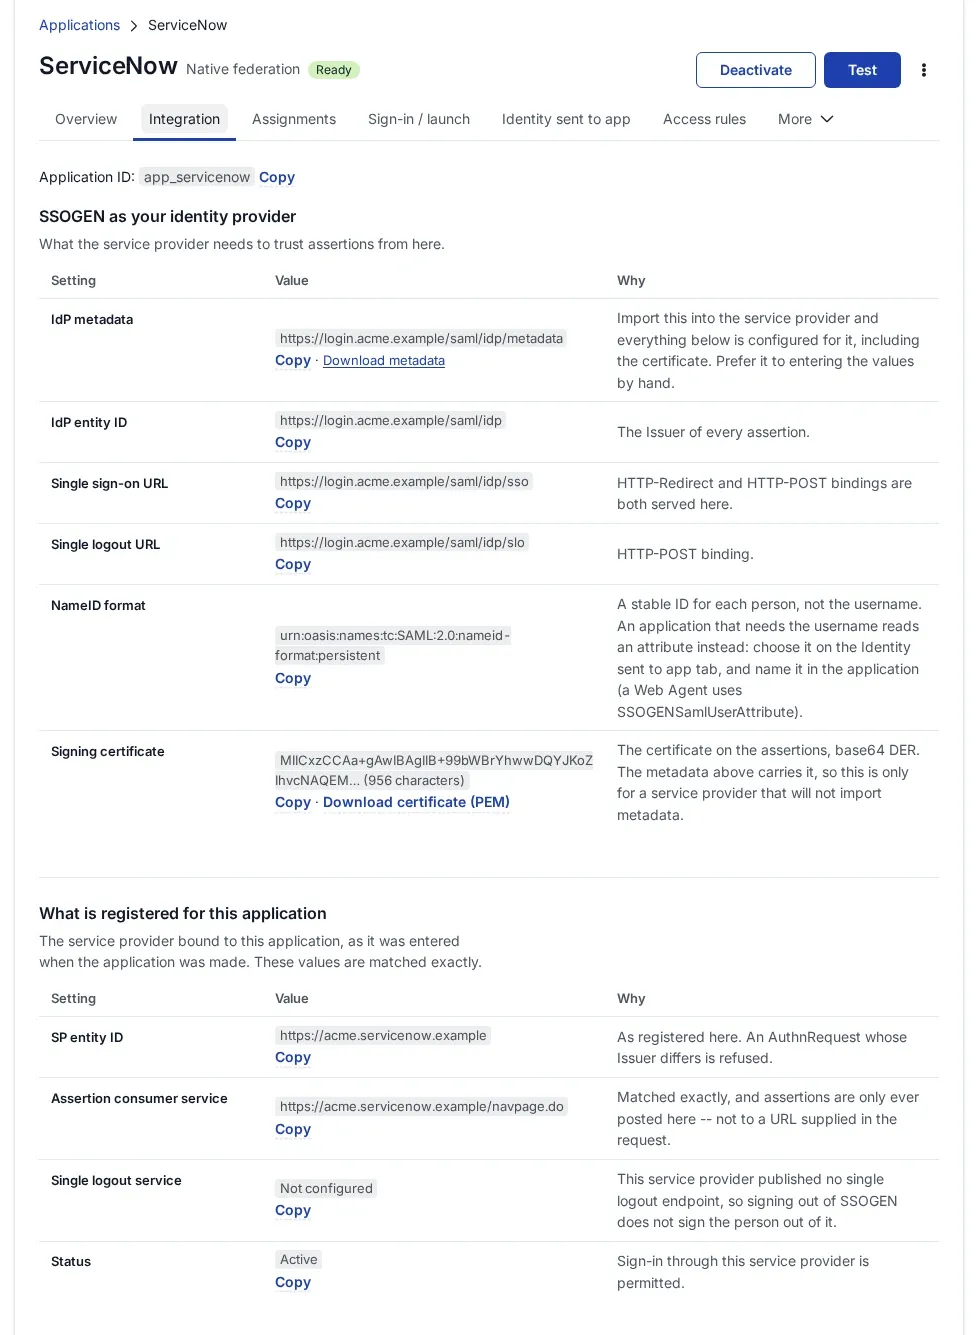
Assign the person who will run ServiceNow’s Test Connection, then open the Integration tab and copy the IdP metadata address, https://acme.ssogen.ai/saml/idp/metadata.
Step 2. In ServiceNow
-
Install the plugin. Go to All > System Applications > All Available Applications > All, search for Integration - Multiple Provider Single Sign-On Installer (
com.snc.integration.sso.multi.installer) and select Install. If it is not in the list, request it from ServiceNow. -
Turn on Multi-Provider SSO. Go to All > Multi-Provider SSO > Administration > Properties, select Enable Multi-Provider SSO and select Save. Leave Enable Auto Importing clear unless you want ServiceNow to create users at first sign-in.
-
Create the identity provider record. Go to All > Multi-Provider SSO > Identity Providers, select New, then SAML.
-
Import SSOGEN’s metadata. In Import Identity Provider Metadata select URL, paste
https://acme.ssogen.ai/saml/idp/metadataand select Import. ServiceNow fills in the form and stores SSOGEN’s signing certificate. If your instance cannot reach SSOGEN’s address, choose XML and paste the content of the downloadedssogen-idp-metadata.xml. -
Check the form.
ServiceNow field Value Name SSOGENIdentity Provider URL https://acme.ssogen.ai/saml/idp(from the import)Identity Provider’s AuthnRequest https://acme.ssogen.ai/saml/idp/sso(from the import)ServiceNow Homepage https://acme.service-now.com/navpage.doEntity ID/Issuer https://acme.service-now.comAudience URI https://acme.service-now.comNameID Policy urn:oasis:names:tc:SAML:1.1:nameid-format:emailAddressLeave Default and Auto Redirect IdP clear for now.
-
Match on email. Open the Advanced tab and set User Field to
email. Leave Single Sign-On Script and Clock Skew as they are. Leave the Encryption And Signing tab as it is: SSOGEN does not need signed requests. -
Select Update. The record is saved and stays inactive.
-
Test. Open the record again and select Test Connection. Allow pop-ups for the instance. The window goes to SSOGEN; sign in as the person you assigned. ServiceNow shows its test results. When they pass, select Activate.
-
Set the final launch URL. Right-click the record’s header bar and choose Copy sys_id. In SSOGEN, on the application’s Sign-in / launch tab, set the launch URL to
https://acme.service-now.com/login_with_sso.do?glide_sso_id=<sys_id>and select Save. This address sends people straight to SSOGEN.
When everything works, you can make SSOGEN the sign-in for everyone who opens the instance: under Related Links select Set as Auto Redirect IdP. Do this last.
Step 3. People and a sign-in test
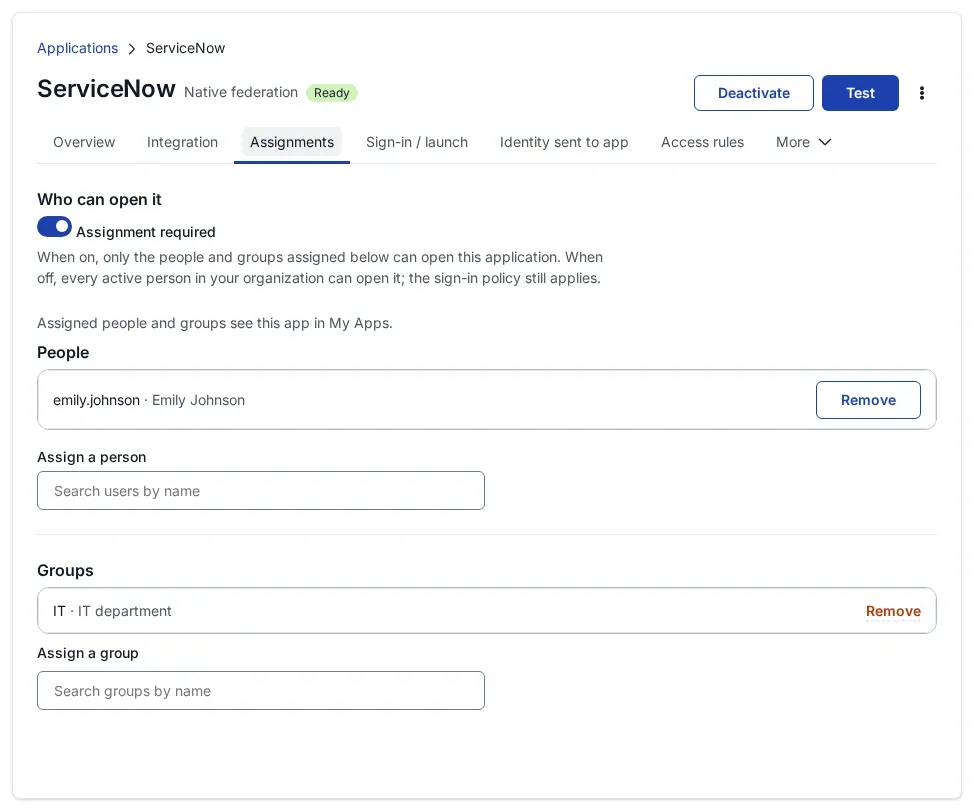
- Assign the people or groups who use ServiceNow on the application’s Assignments tab in SSOGEN.
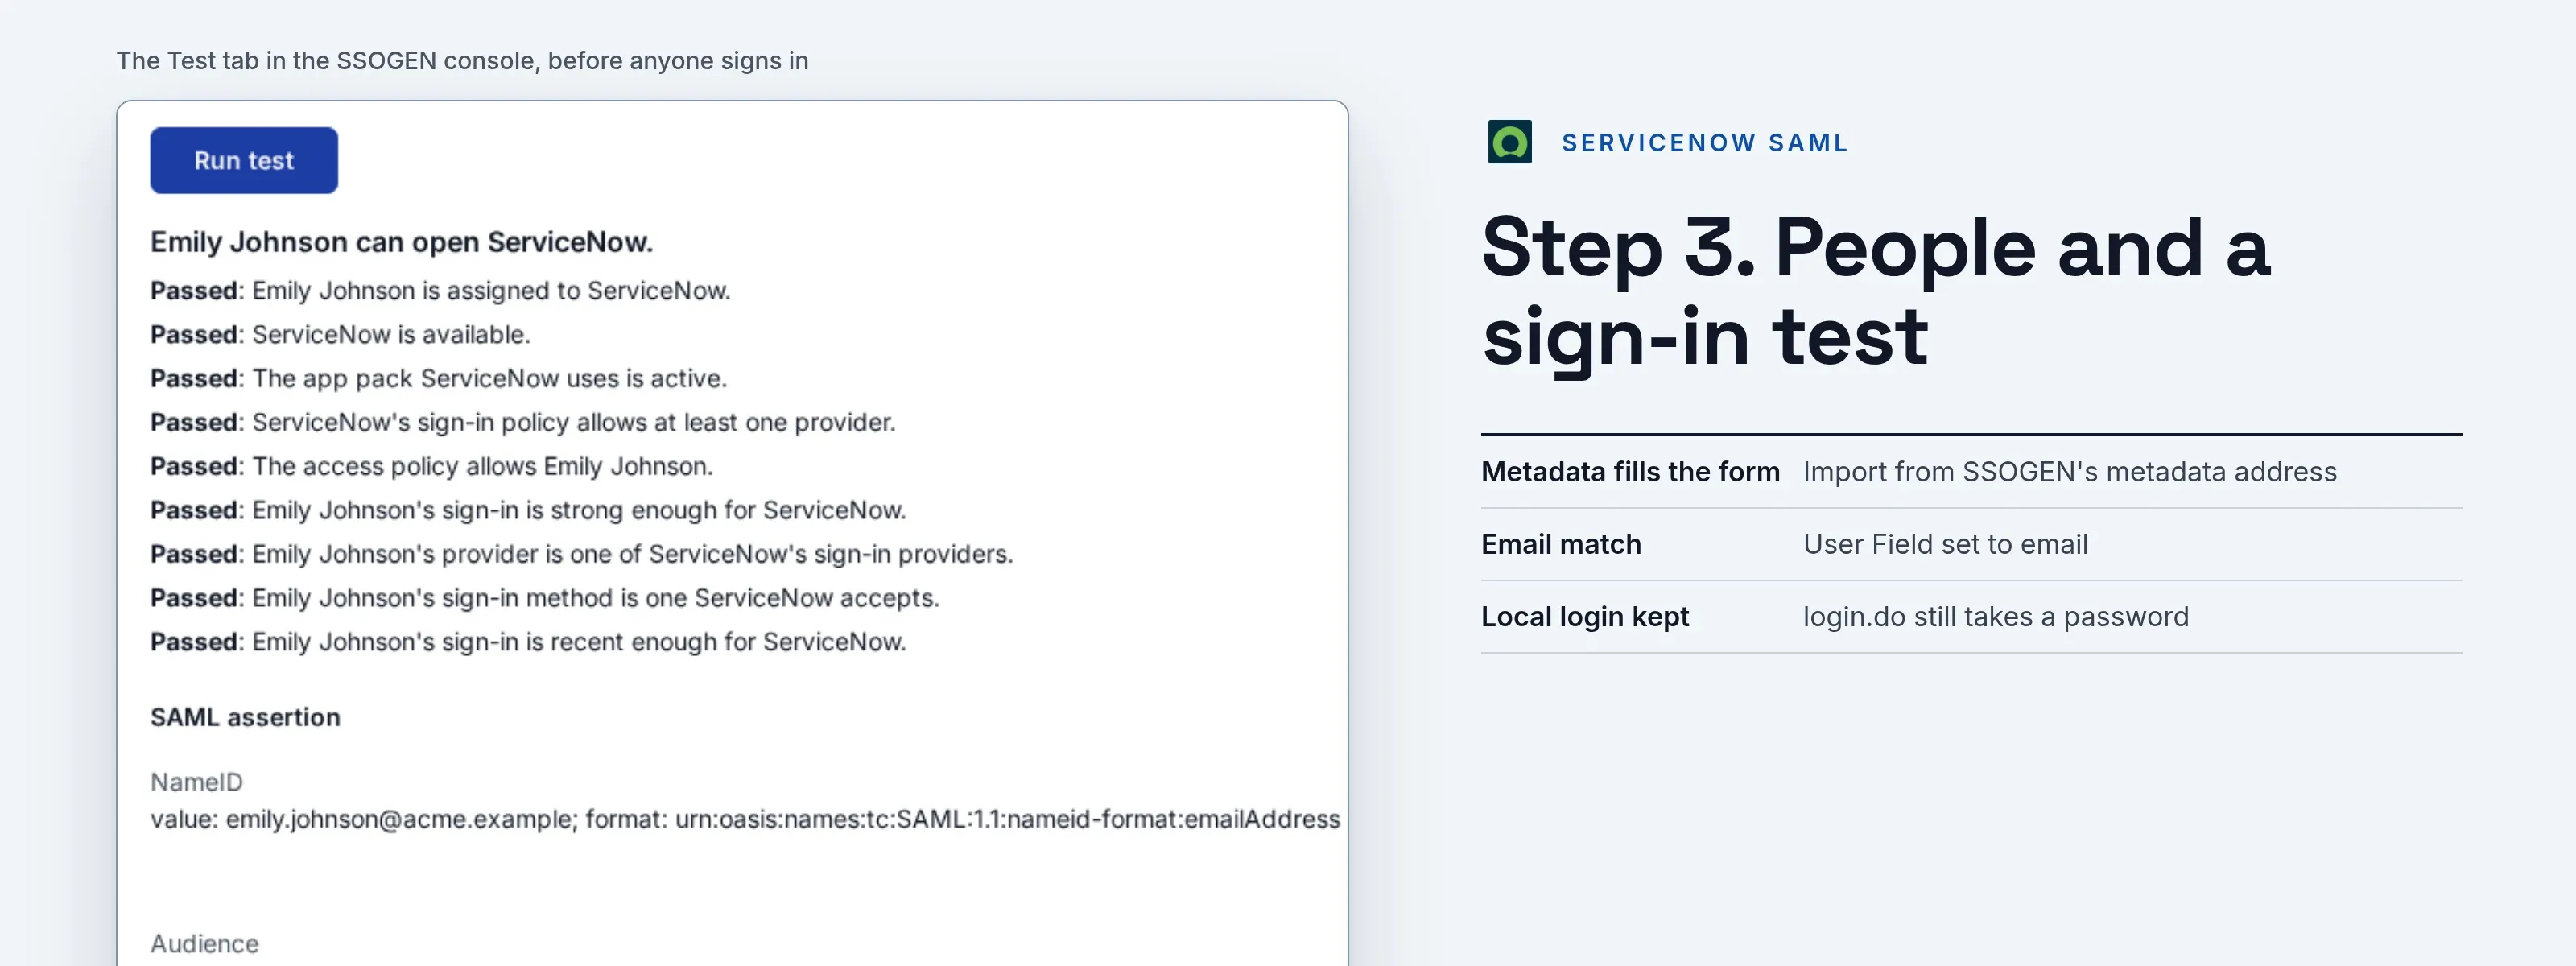
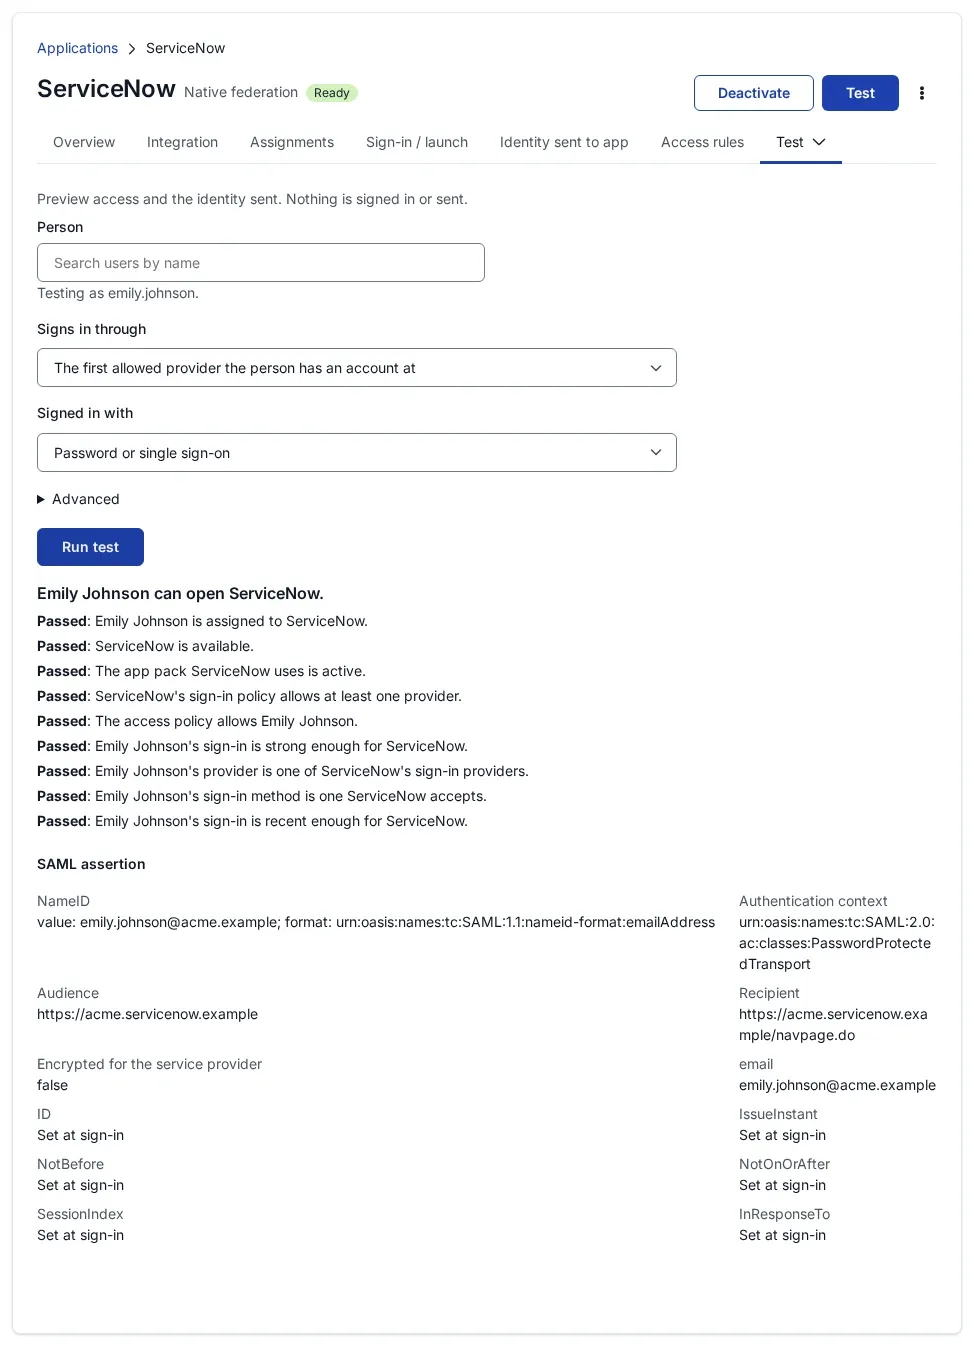
- On the Test tab, run the test for one person and check that NameID is the email address on their ServiceNow user record.
- In a private browser window sign in to SSOGEN as that person and select the ServiceNow tile. The instance opens as that user.
Keep the local administrator: https://acme.service-now.com/login.do still takes a ServiceNow password.
Signing in
People select ServiceNow in My Apps, or open the instance address. They see SSOGEN’s sign-in page only if they have no SSOGEN session yet, then the ServiceNow home page. Before Auto Redirect IdP is set, people who open the instance address directly choose Use external login on ServiceNow’s login page.
Troubleshooting
| What you see | Cause |
|---|---|
| ServiceNow test result: “Ensure that the ‘Audience URI’ field is set correctly” | Audience URI differs from the entity ID registered in SSOGEN, often by a trailing slash. Make them identical. |
| SSOGEN page “Sign-in refused” with “No service provider is registered here with that entity ID.” | Entity ID/Issuer in ServiceNow differs from the entity ID registered in SSOGEN. |
| ServiceNow test result says the user is not present | No user record has an email equal to the name ID. Check User Field and the person’s email in both places. |
| “Ensure that the IDP x509 certificate is present, valid, and active.” | ServiceNow holds an old certificate. Import SSOGEN’s metadata again. |
| The application reports an invalid name ID policy | NameID Policy asks for email while SSOGEN identifies the person by another value. Choose email — mail address in SSOGEN, or set the policy to unspecified. |