SSOGEN / Add an OpenID Connect application in SSOGEN
SSOGEN
Add an OpenID Connect application in SSOGEN
One wizard and two tabs register the redirect URIs, issue the client ID and secret or private key, and set the claims the application reads.
The examples use the made-up company Acme, with SSOGEN at https://acme.ssogen.ai and the test person Emily Johnson (emily.johnson@acme.example). The console always shows your real address; copy values from the console.
The application’s side, with its redirect URI and the claims it reads, is on its page in the application guides. For SAML applications use Add a SAML application in SSOGEN. The reference documentation covers the same wizard in Register an OpenID Connect application.
What you need
- An administrator role that changes applications: Application admin or Super admin. Assigning people and running the test also need a role that reads the directory (Directory admin, Read-only admin, or Super admin).
- A sign-in policy under SSO policies > Policies, with a default under SSO policies > Defaults or one you pick in the wizard.
- From the application:
- its redirect URI (also called callback or reply URL): one or more
https://addresses, at most 16, each up to 2,048 characters, with no#part; - whether it runs on a server and can keep a secret, or runs in the browser or on a phone and cannot;
- support for PKCE with the S256 method, which SSOGEN requires of every client;
- optionally, the address the browser returns to after sign-out.
- its redirect URI (also called callback or reply URL): one or more
- The address people open the application at, for the launch URL.
1. Start the wizard
Open Applications > App gallery. Select the application’s card, or the Custom OpenID Connect application tile under Custom app. For a gallery card that opens as SAML, choose OpenID Connect on the Access mode step.
2. General
Enter Name, check Slug and Application ID (the application ID cannot be changed later), and choose the My Apps icon (required). Select Next.
3. Access mode
OpenID Connect is selected. Select Next.
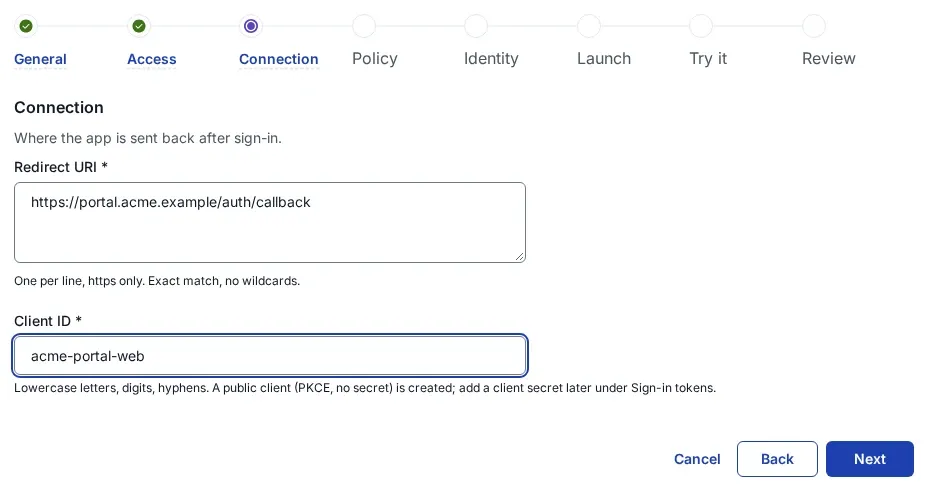
4. Connection
| Field | What to enter |
|---|---|
| Redirect URI | The application’s callback address, exactly as the application sends it, one per line. No wildcards; a trailing slash makes a different address. |
| Client ID | A name you choose: lowercase letters, numbers and single hyphens, up to 64 characters, for example acme-wiki. It is also the audience of every token for this application. |
Check both before you go on. Once the wizard has saved the application, the redirect URIs and the client ID cannot be changed in the console; a wrong one means registering the application again.
Every application starts as a public client: no secret, PKCE required. A server-side application gets its secret or key in step 10. Select Next.
5. Sign-in policy
Keep Use the default policy or choose another. Select Next.
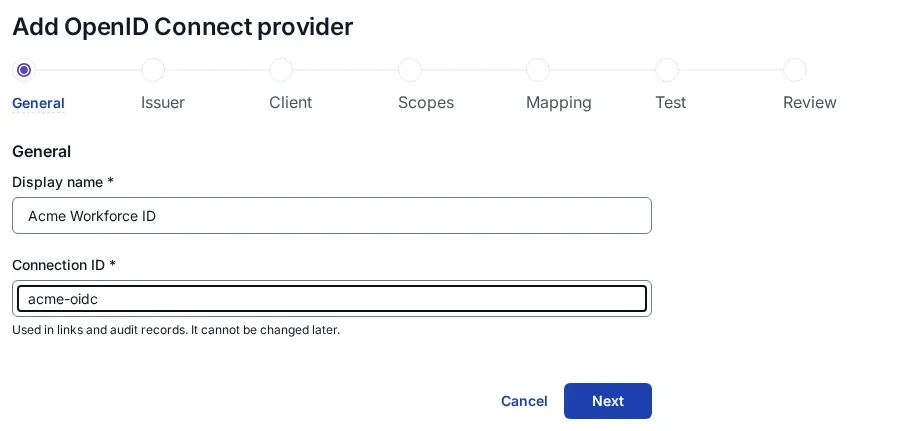
6. Identity sent to app
Leave Identify the person by at its default unless the application page says otherwise. Extra claims are easier to add later on the Identity sent to app tab (step 11). Select Next.
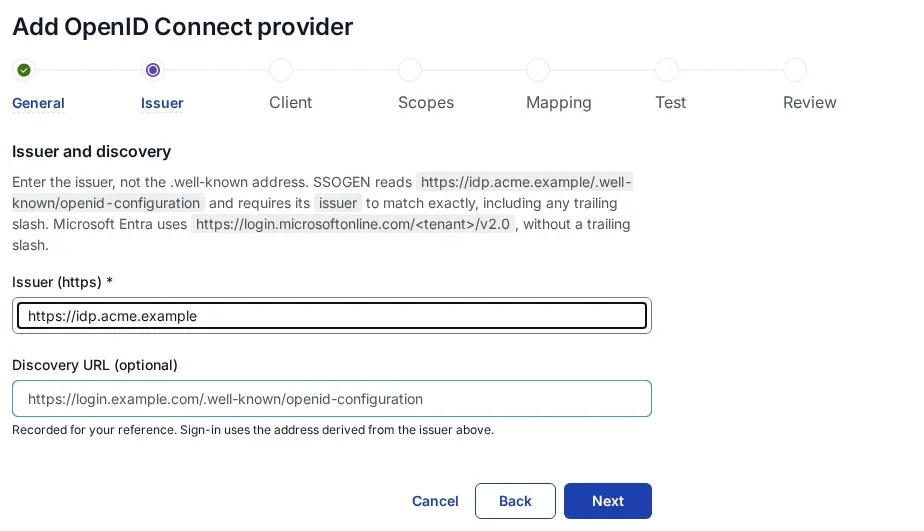
7. Launch
Enter the Launch URL (https): the address people open the application at. The application then starts the sign-in at SSOGEN. Select Next. SSOGEN saves the application at this step.
8. Try it (optional) and activate
Choose a Person and select Run test. The cards ID token claims and UserInfo claims show every claim the application would receive. Under Advanced, OpenID Connect scope lets you test with the scopes the application asks for. Select Next, check the list and select Activate application.
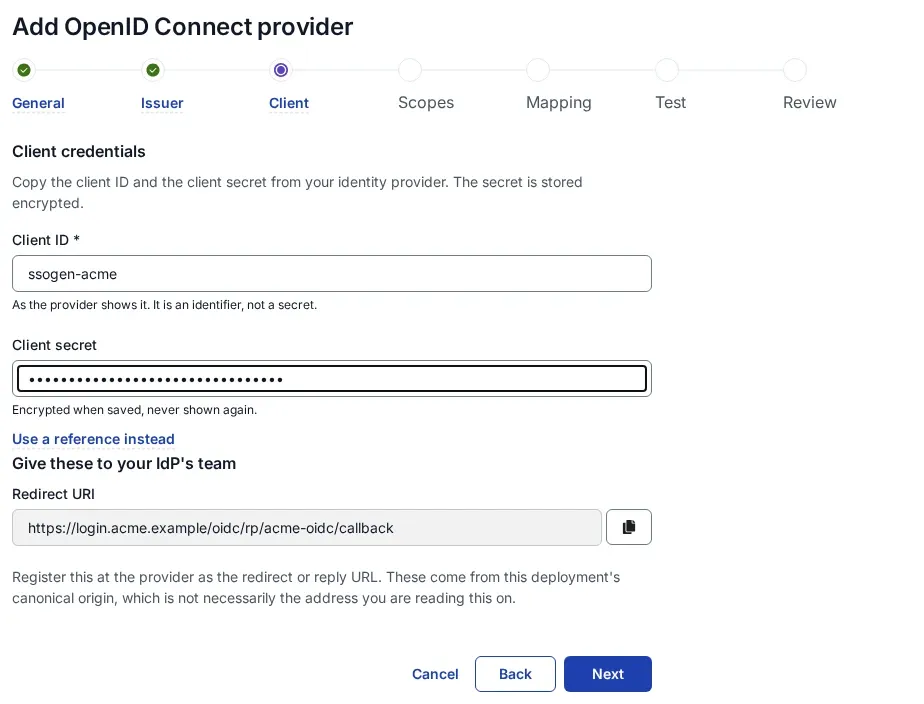
9. Copy the provider values from SSOGEN
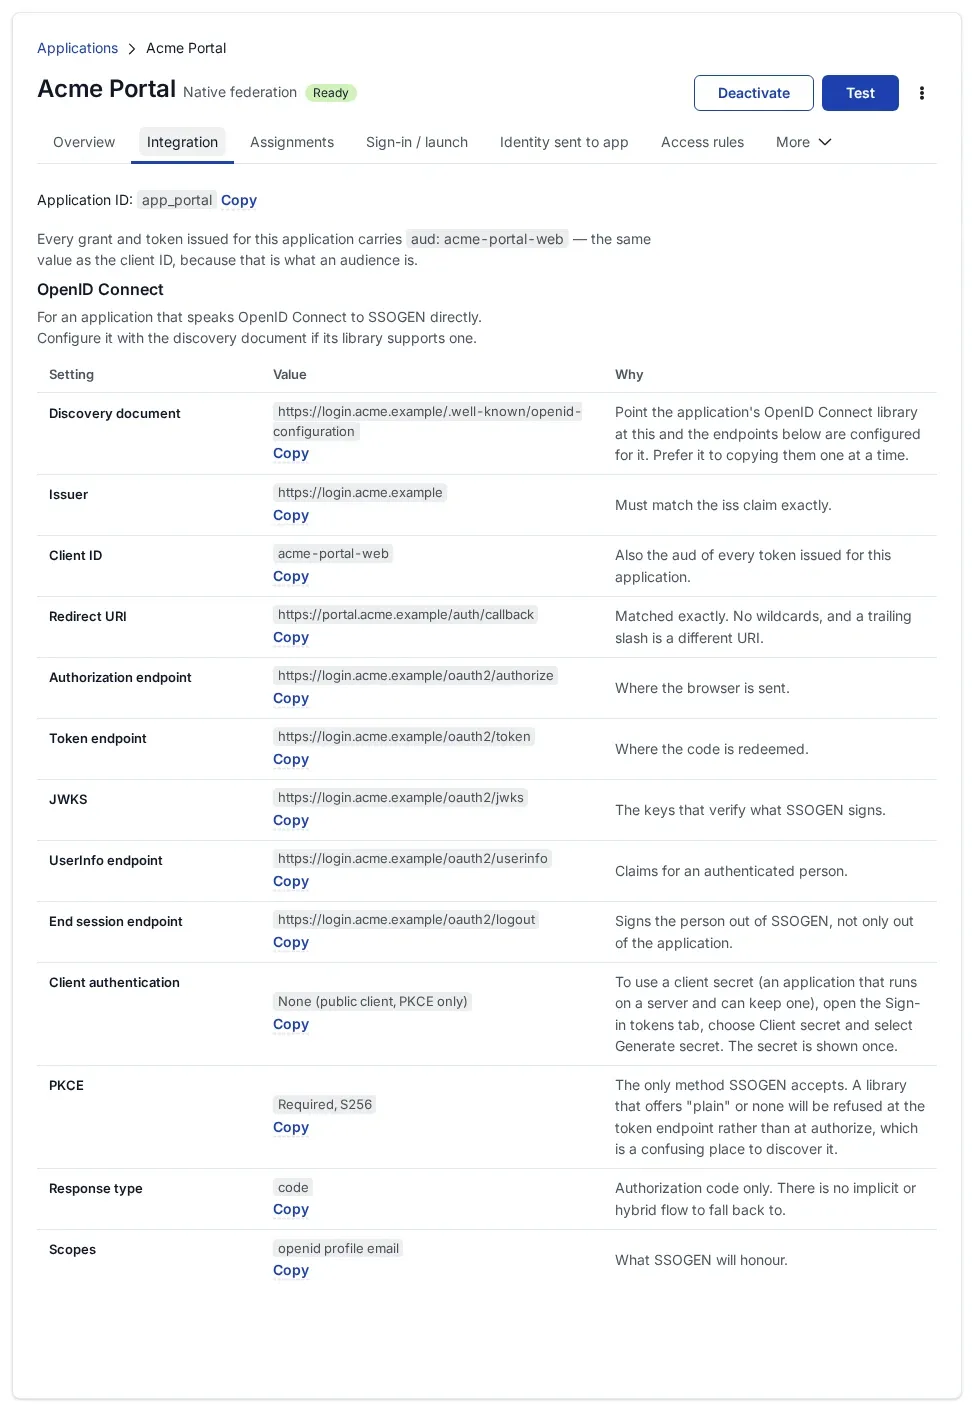
Open the application’s Integration tab, section OpenID Connect. Each row has a Copy button.
| The application asks for | Row | Value for Acme |
|---|---|---|
| Discovery, well-known or metadata URL | Discovery document | https://acme.ssogen.ai/.well-known/openid-configuration |
| Issuer, authority | Issuer | https://acme.ssogen.ai |
| Client ID | Client ID | the client ID from step 4 |
| Authorization endpoint | Authorization endpoint | https://acme.ssogen.ai/oauth2/authorize |
| Token endpoint | Token endpoint | https://acme.ssogen.ai/oauth2/token |
| Keys, JWKS URL | JWKS | https://acme.ssogen.ai/oauth2/jwks |
| UserInfo endpoint | UserInfo endpoint | https://acme.ssogen.ai/oauth2/userinfo |
| Logout, end session endpoint | End session endpoint | https://acme.ssogen.ai/oauth2/logout |
| Scopes | Scopes | openid profile email |
| Response type, grant | Response type, PKCE | code, with PKCE S256 |
If the application takes a discovery address, give it the discovery document and the client ID; it reads the rest itself. A browser or phone application is now ready. A server-side application continues with step 10.
10. Client secret or private key
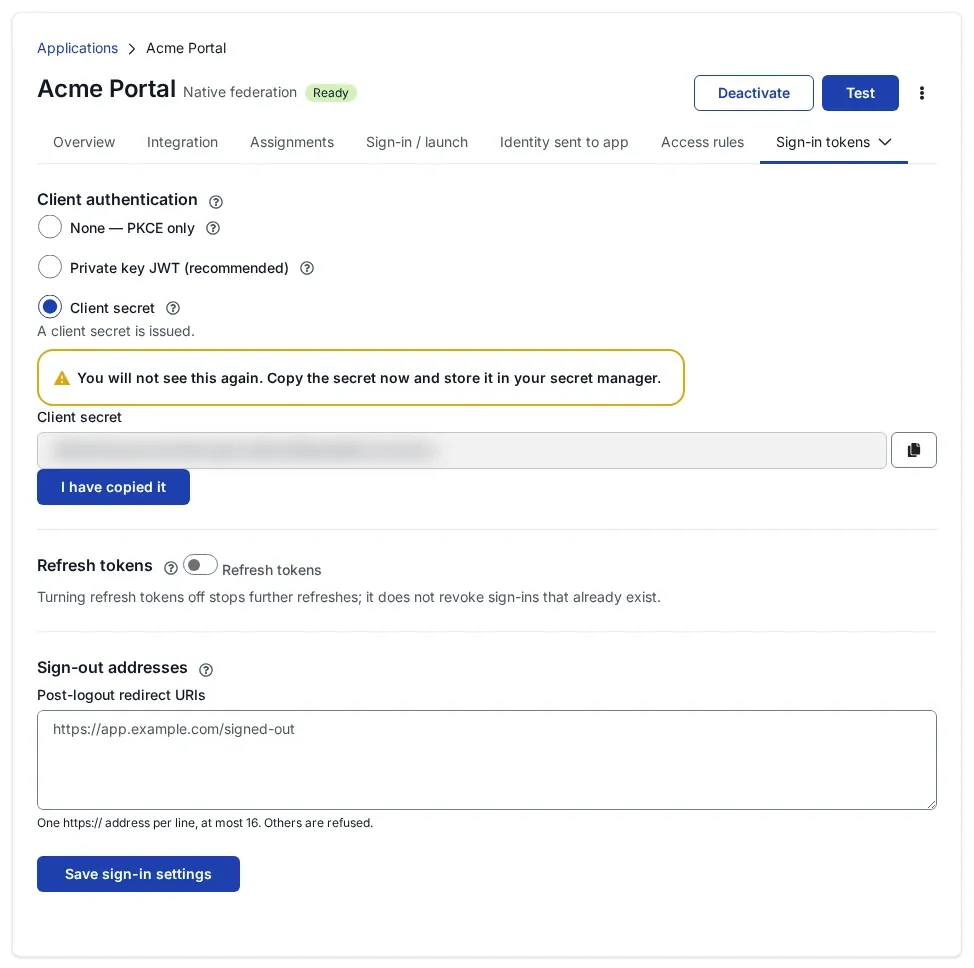
On the application’s Sign-in tokens tab, section Client authentication:
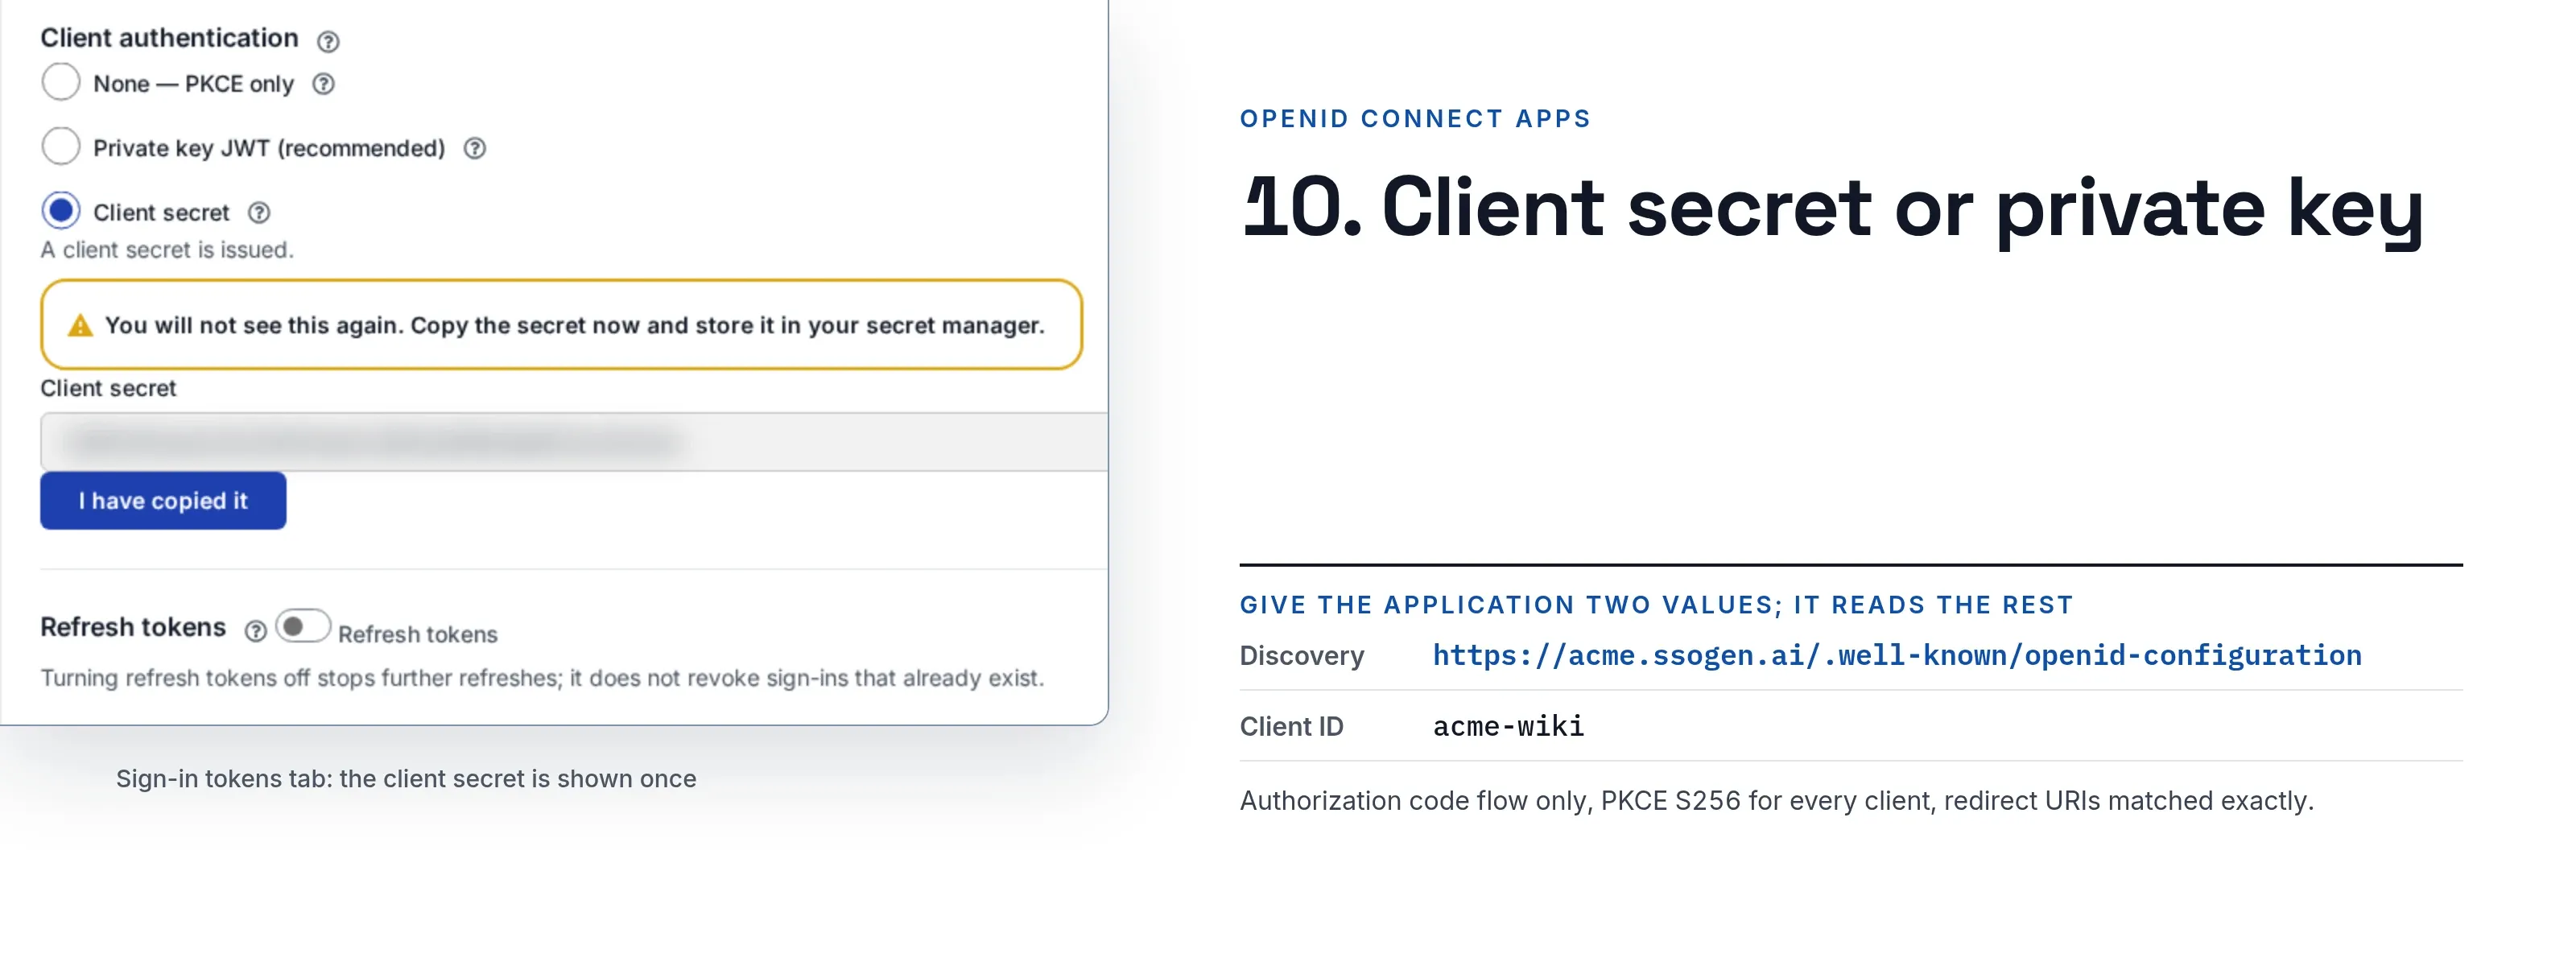
- Client secret: select Client secret, then Generate secret. The secret appears once. Copy it and hand it to the application’s administrator over a channel you trust, then select I have copied it. Select Save sign-in settings. Saving before a secret exists is refused with “Generate a client secret first (Generate secret), then save.”
- Private key JWT (recommended): select it, paste the application’s public keys as a JWKS document in Public keys (JWKS) (at most 5, each with its own key ID), and select Save sign-in settings.
To replace a secret later, generate a new one and choose under When replacing a secret how long the old one keeps working (at once, 1 hour, 24 hours or 7 days).
The same tab sets Refresh tokens (off by default) and the Post-logout redirect URIs the browser may return to after sign-out.
11. Claims
On the Identity sent to app tab, select Add attribute, type the claim name the application expects under “Name the application sees”, choose the value, and select Save. Tick “Required” only if sign-in should stop when the person has no value. Claim names that SSOGEN sets itself (sub, iss, aud, exp, iat, nbf, jti, azp, acr, amr, auth_time, sid) cannot be used. Check the result on the Test tab.
12. Give people access and test
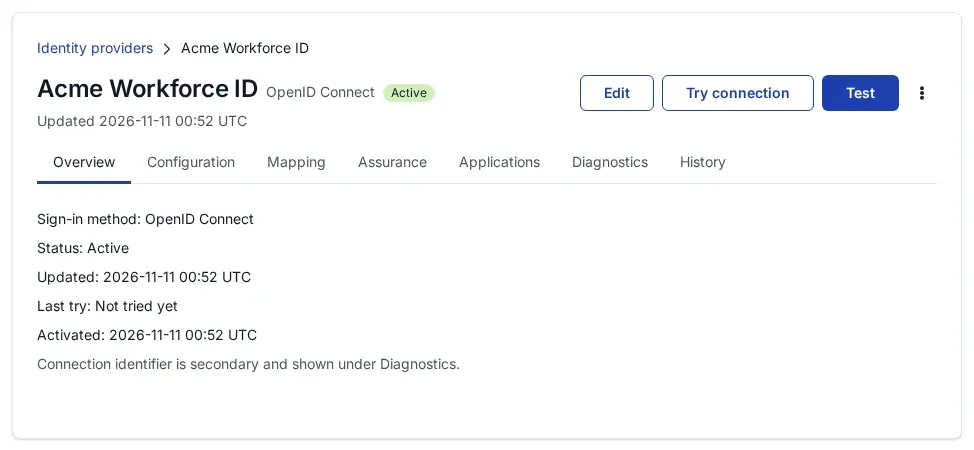
On the Assignments tab keep Assignment required on and assign people or groups. Select Test, choose a person and select Run test. The Overview tab shows Ready once the launch URL is set, someone is assigned and the application is active.
What every application can rely on: authorization code flow only, with PKCE S256 for every client, also those with a secret; the redirect URI must equal a registered one exactly; signing keys are read from the JWKS address and change without notice, so the application should not pin one.
What people see
The assigned person finds the tile on My Apps and selects it. The application opens, sends the browser to SSOGEN, and SSOGEN answers without asking again because the person is already signed in. A second factor is asked for first if the policy wants one.
Troubleshooting on the SSOGEN side
| What appears | Cause |
|---|---|
| The application reports a redirect URI mismatch | The redirect URI the application sends differs from the registered one, often by a trailing slash or a different host name. Register the application again with the exact address. |
| The application reports a failed token request | The application does not send PKCE, or a server-side application sends a secret that was never saved with Save sign-in settings. |
| A claim the application reads is missing | The claim has no row on the Identity sent to app tab, or the scope the application asks for does not carry it. Check the ID token claims card on the Test tab. |
| The tile shows Not set up yet | No launch URL. Set it on the Sign-in / launch tab. |